

Right now, many of us here in the UK are just taking each day as it comes… January is always a dark and dreary time of the year but, in addition, Lockdown 3 is in full swing, we’re all missing friends and family, and homeschooling is testing even the most patient of us!
But… we CAN do this! We’re nearly a month in and the light at the end of the tunnel is definitely growing brighter!
So, I’ve allowed myself to look forward. And the first thing that popped into view was Valentine’s Day.
Interestingly in Finland, February 14th is not celebrated as Valentine’s day, but as Ystävänpäivä - Friend’s Day: a time to celebrate not just your soul mate (if you are fortunate enough to have one), but your dear friends too.
It is the second biggest season for cards in Finland: friends, family, neighbours and colleagues may all receive cards, flowers and chocolates on this day. People traditionally spend the day having fun brunching, bowling, sledging or skating with friends.
Those things may still be a while off for us here, but celebrating friendship and sharing our love and appreciation seems like a great way of boosting everyone’s flagging spirits.
So, here are a few Valentine’s and Friend’s Day inspired ideas for cards and activities that will not only help to pass the time during lockdown, but which you can post to friends and family, or pop through neighbours’ doors and help cheer up those who may not be expecting anything this February 14th.
Do share any of your completed projects in the comments below - my little girl (6 year old, Annabel) and I would love to see what you’ve been up to.
CARDS
Don’t you just love receiving post? There is something special about a card or present dropping through the front door, especially when it is unexpected. It really cheers up the day and feels like a much needed connection with the outside world.
We will be sending cards to family and - like the Finns - to friends and neighbours too.
Loving Hands (ideal for babies and toddlers)
When Annabel was too little to create her own artwork, handprints formed the basis of most of our special cards for relatives.
These Valentine’s ones are still one of my favourites; Annabel’s grandma has even framed hers so that she can enjoy the love every day of the year!

As it was such a hit, we made some more a couple of years later using pink card instead of the red, and together, they are a lovely record of how Annabel grew over that time.
Top tips:
make sure you have wet wipes or a damp flannel close at hand BEFORE you start painting your little one’s hand!
Expect that for every card-worthy print, there will be several wobbly ones too, so I strongly recommend you don’t try to print straight onto your assembled card. I had plenty of sheets of coloured card to hand, so that I could do a little run of printing without moving. Once they were dried, I chose the best, drew and cut a square around them and stuck a little coloured heart on top. These could then be mounted onto folded white card.
Finger print fun (ideal for toddlers +)
This is a lovely subtle variation on the heart theme.
Let your little one go wild, splodging fingerprints onto some paper (you could either use paint or coloured ink pads)
Once the paint is dry, cut out a heart shape (or several) and stick onto a card background.
With a black pen, add lines to create a tree trunk and branches.
(If older children are doing this activity, they could do steps 2 and 3 themselves).

Top tips:
Cover your table with a plastic table cloth or sheets of newspaper.
As with the hand printing activity above, make sure you have wet wipes or a damp flannel close at hand BEFORE the finger painting begins… it is amazing how many places a toddler can touch just climbing down from their chair to follow you out of the room!
You can create a range of different shades of pink by mixing different quantities of white and red paints together. We started with a light pink (mostly white with a touch of red) and gradually added in more and more red to create darker pinks as we built up the layers.
You could of course adapt this to any colour you like to suit the recipient.
Toilet roll heart stamping (ideal for toddlers+)
This is a simple alternative to traditional potato printing. It is suitable for little toddler hands, but my 6 year old had fun printing this way too.
Crease a toilet role lengthways to form the point of a heart, and push and crease a section inwards to form the curved tops of the heart (see photo below if that’s not clear!)
Use a piece of tape across the top of the curved tops of the heart to hold the shape in place.
Pour some paint into a small shallow dish and show your child how to dip the end of the toilet roll into the dish.
Place the end of the toilet roll onto the page to create a pattern of lovely hearts.
Have fun experimenting with different coloured paper and paint.

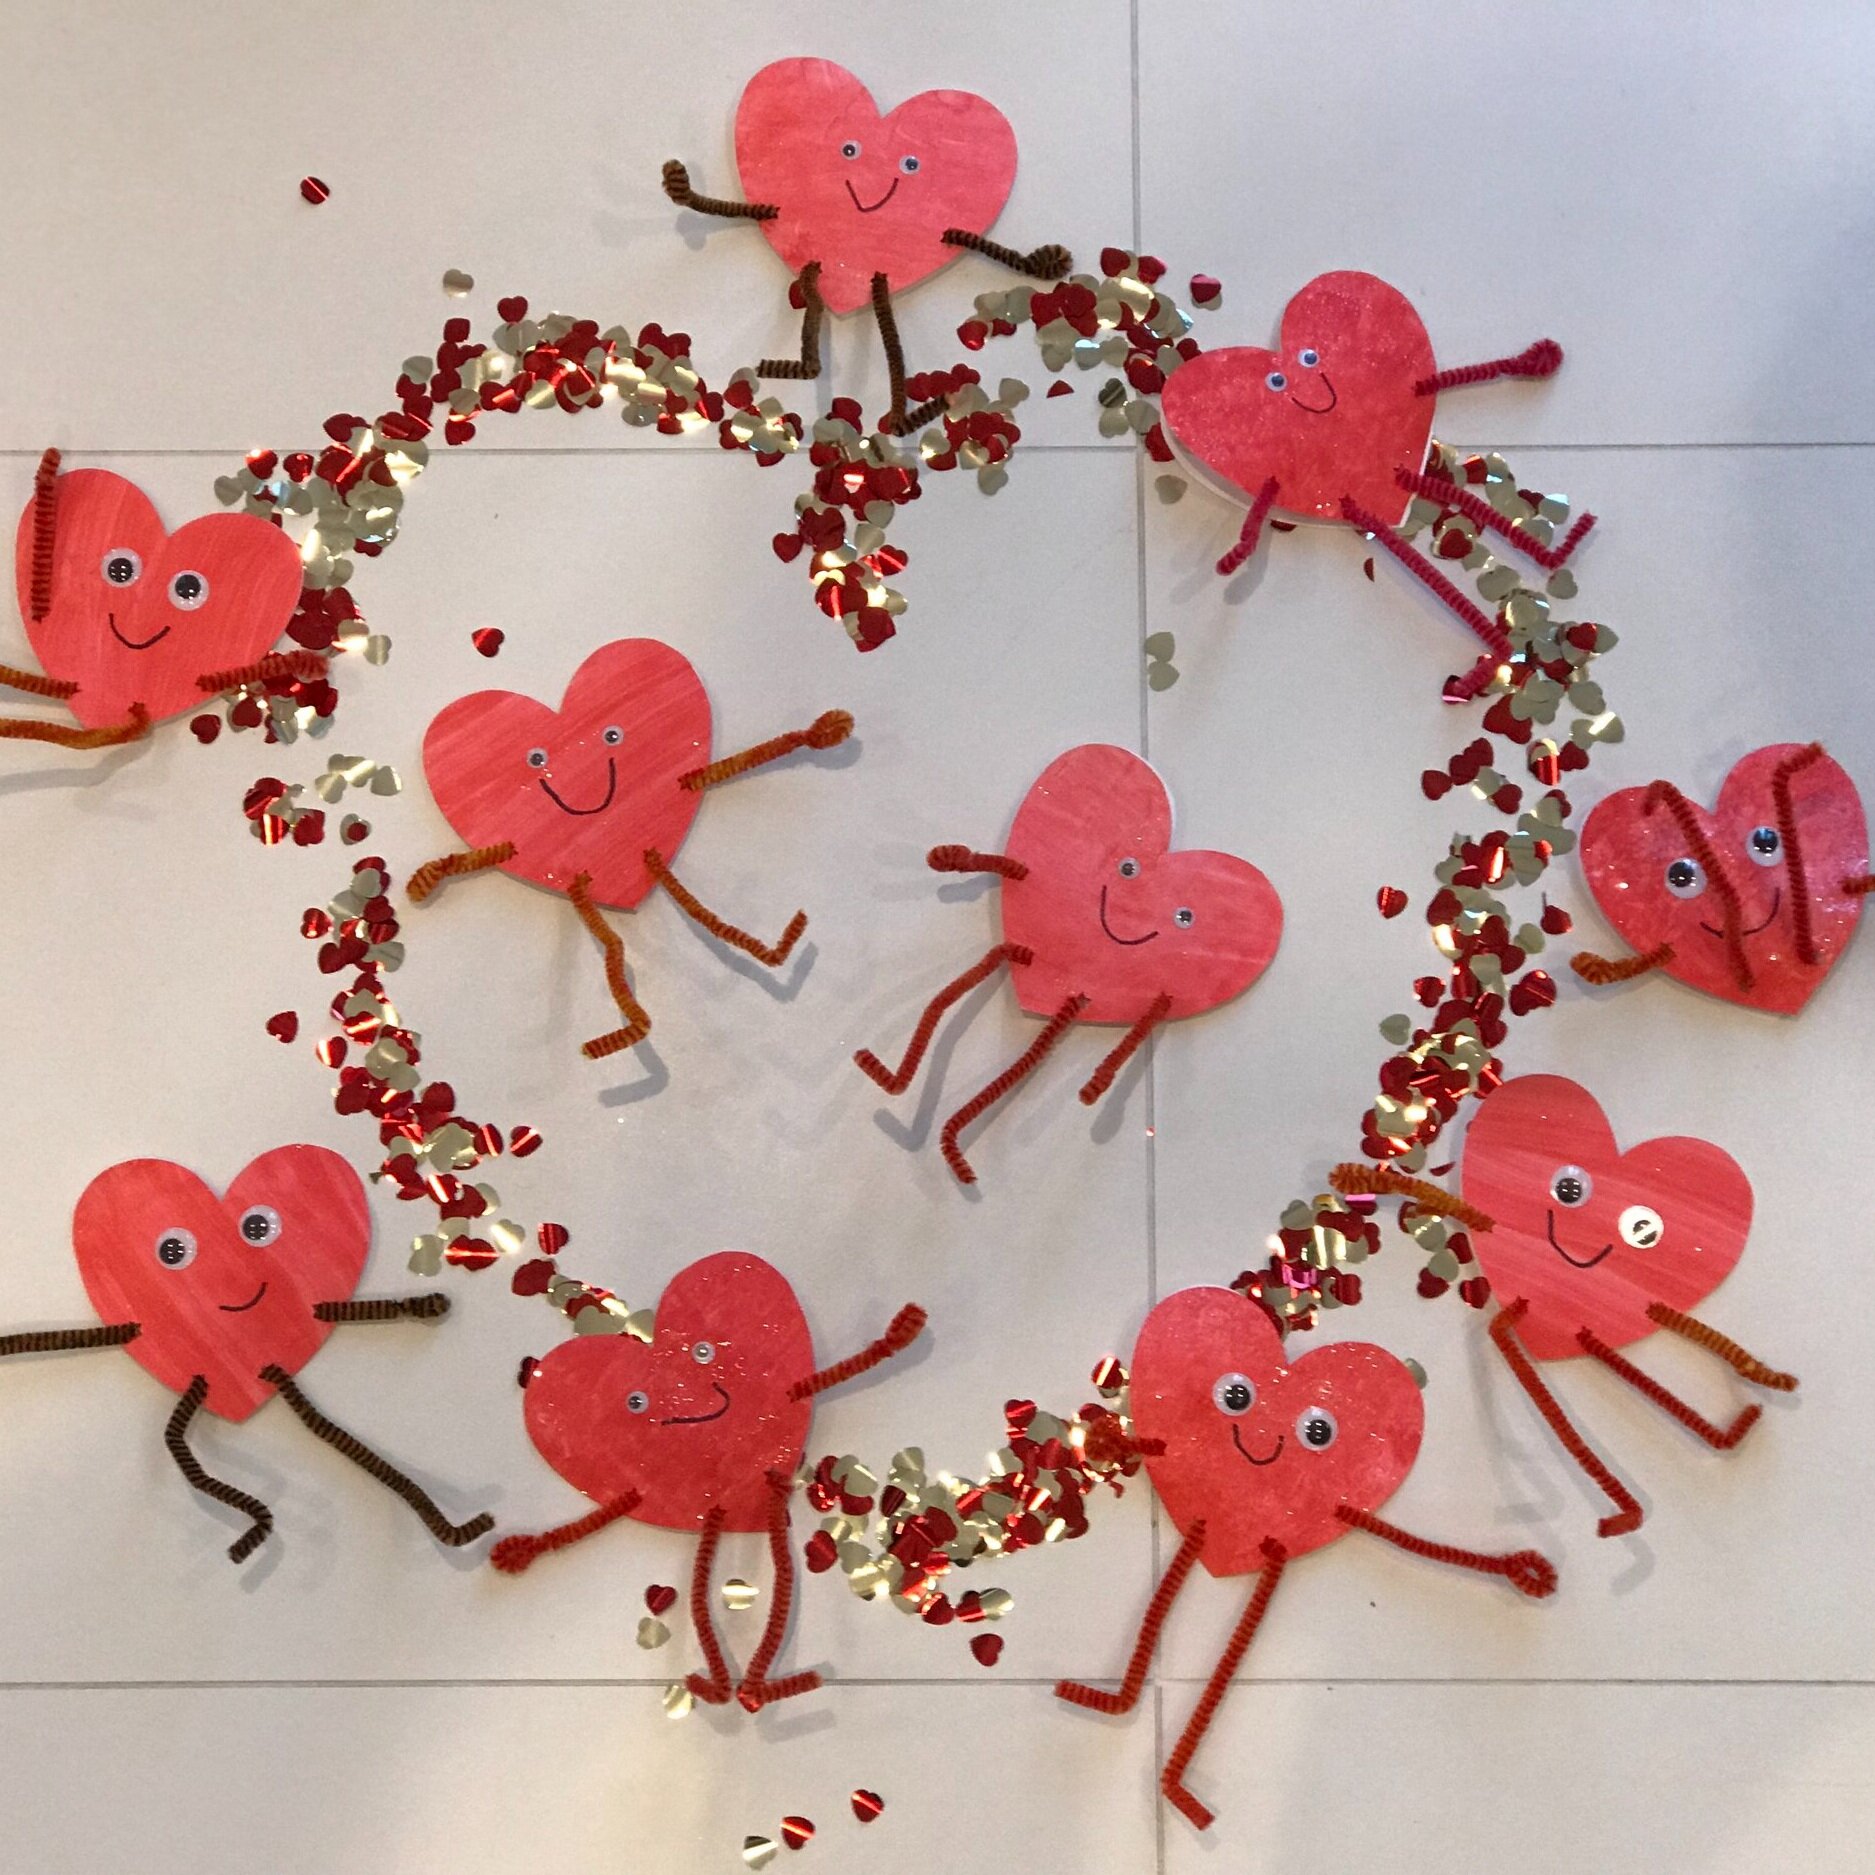
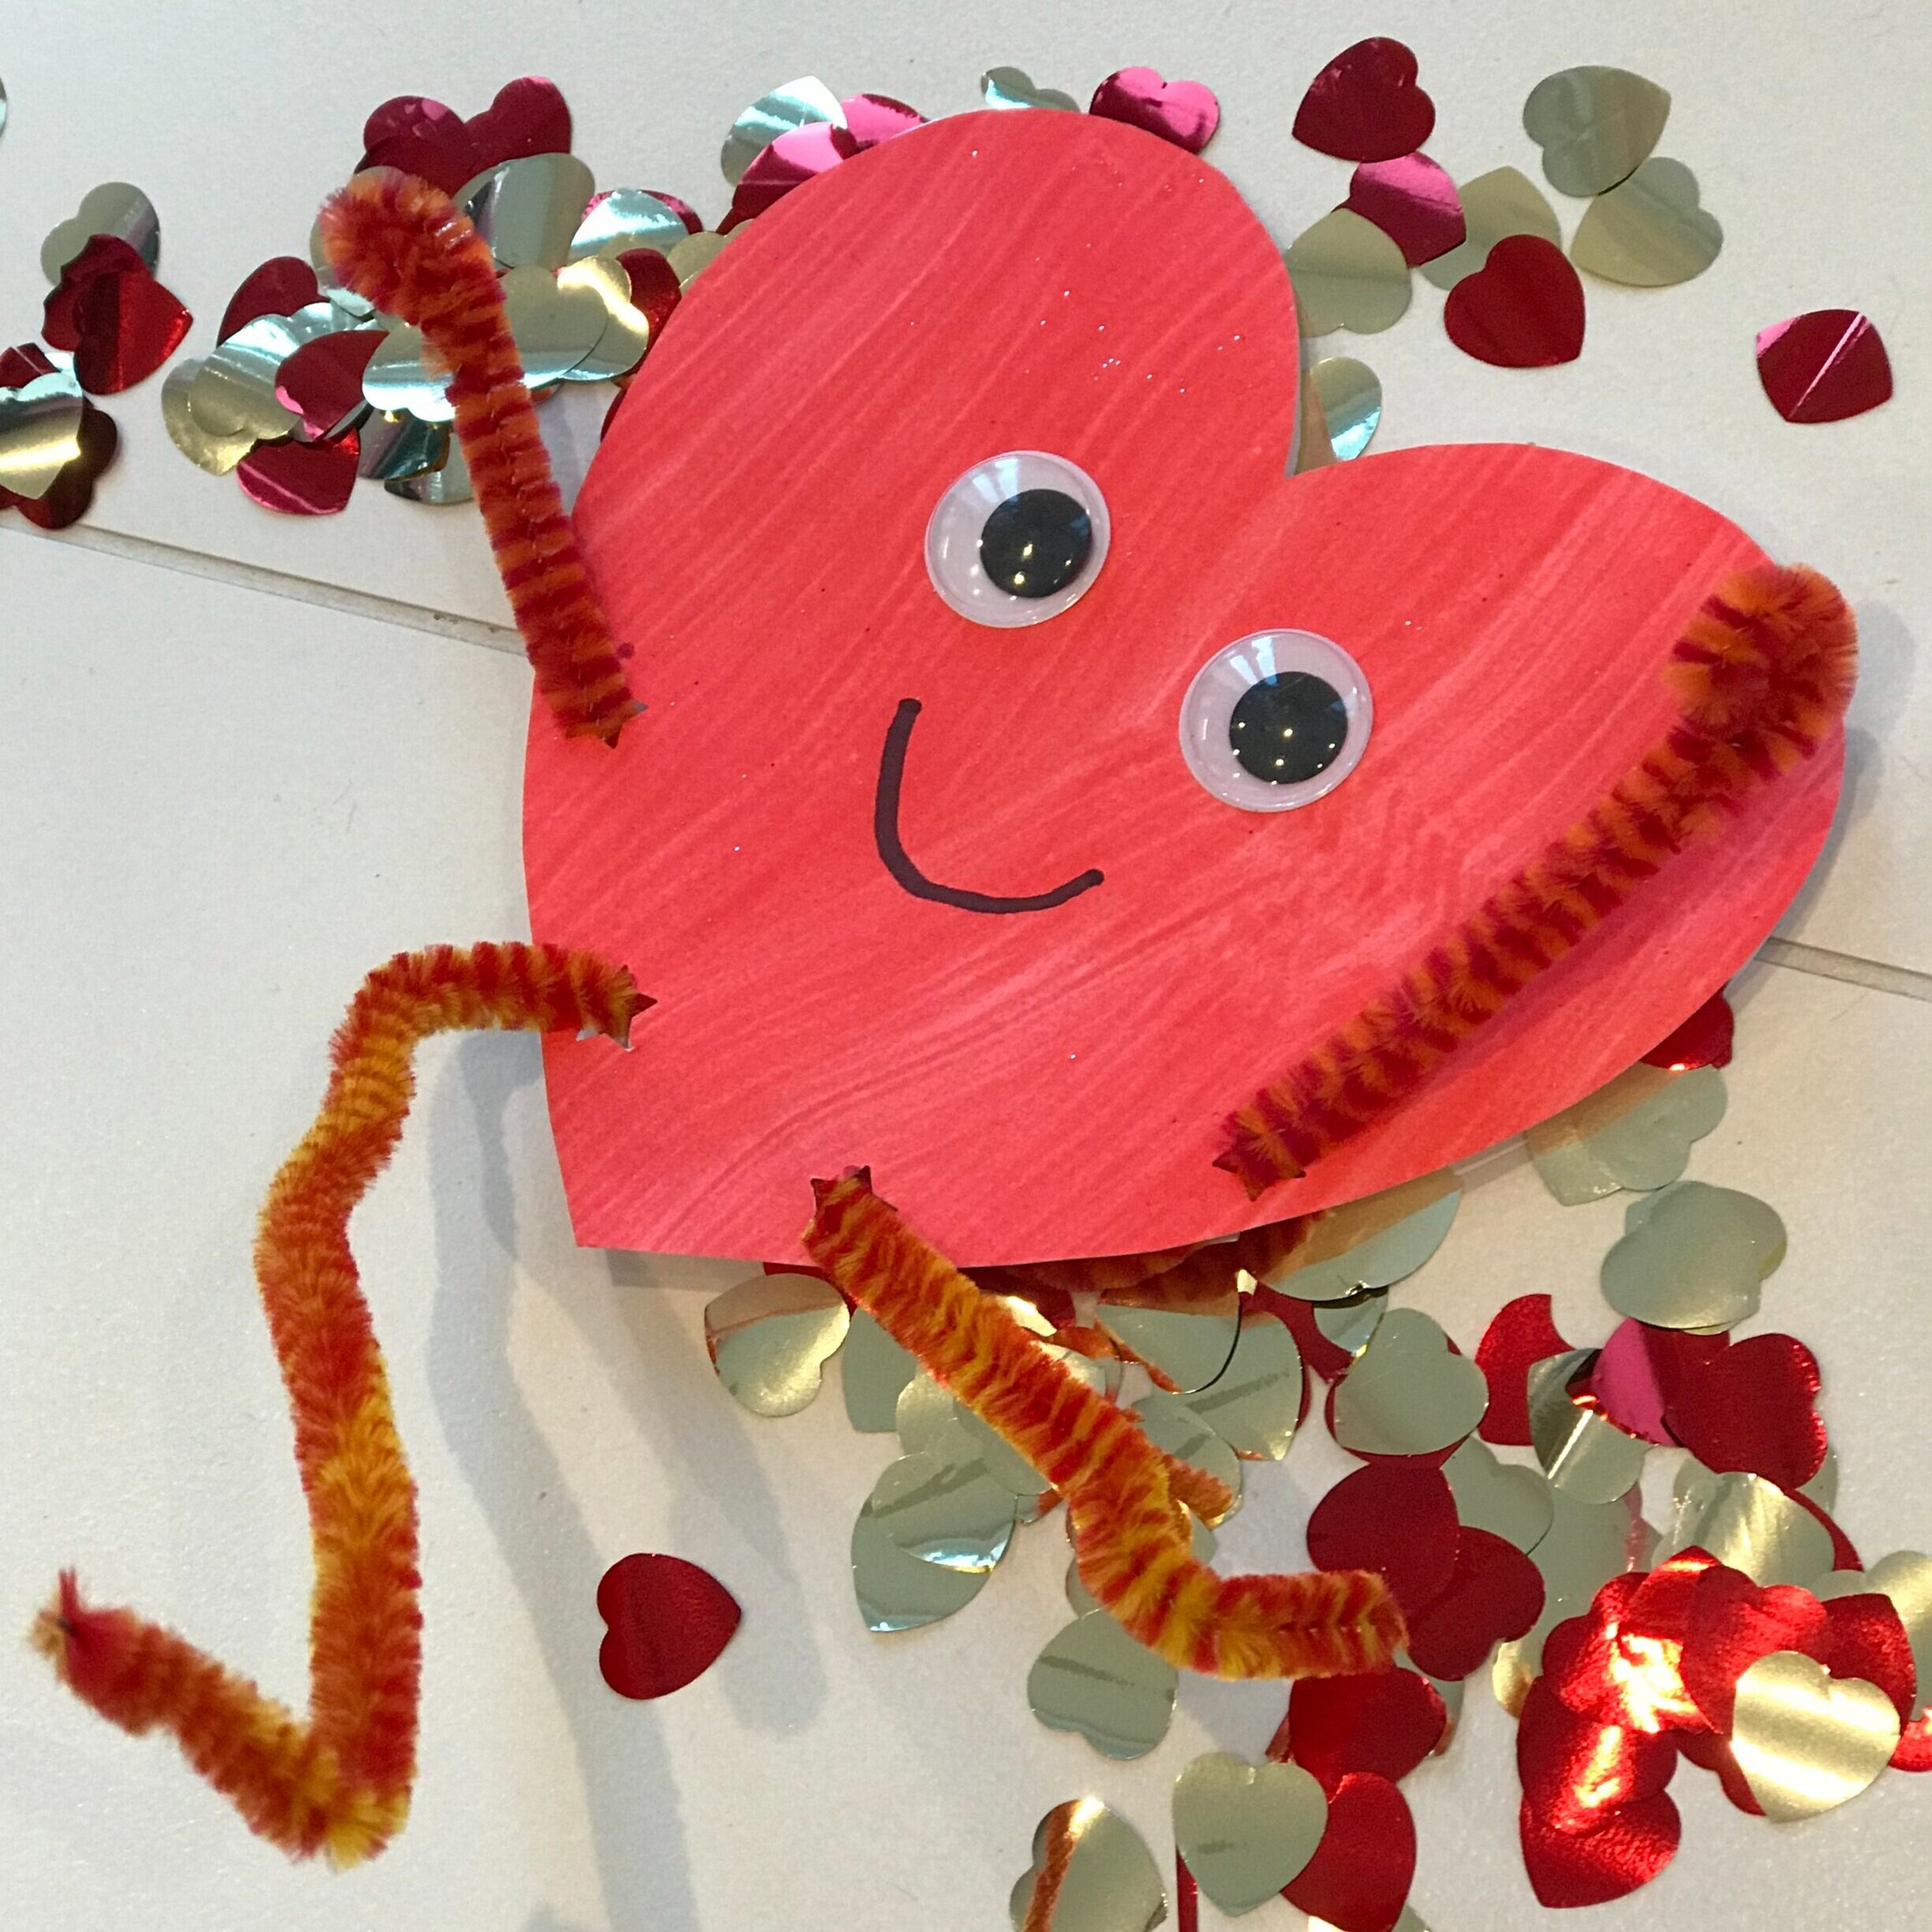
Happy Hearts (Ideal for Early Years and Key Stage 1 with support, KS2 independently)
These cheerful chaps went down a treat with Annabel’s friends at preschool a few years ago.
Paint some card (or use coloured card if you prefer)
Cut out heart shapes from the painted/coloured card and a partner to each from white card (these will form the backs of the cards). You can make yourself a stencil if you’d like these to all be the same.
Punch four holes in the coloured heart - two on each side.
Fold a line across the white hearts just under the round tips. Pop some glue above the line and then attach a coloured heart on top - this creates a flapped section which can be written on like a traditional card.
Stick googly eyes on the front (or draw them if you prefer), draw a smile (and eyebrows if you fancy)
Thread pipe cleaners into the punched holes. You only need 2 - one for the arms and one for the legs. Push a pipe cleaner through one arm hole and out of the other and the same for the legs. Bend them as they come out of the holes to help keep them in place.
Make a little loop in the ends of the arm pipe cleaner for hands and little bends at the end of the legs for feet.
Top Tip:
You could punch a hole into the top of the heart and thread ribbon or string so that your heart can be hung up.
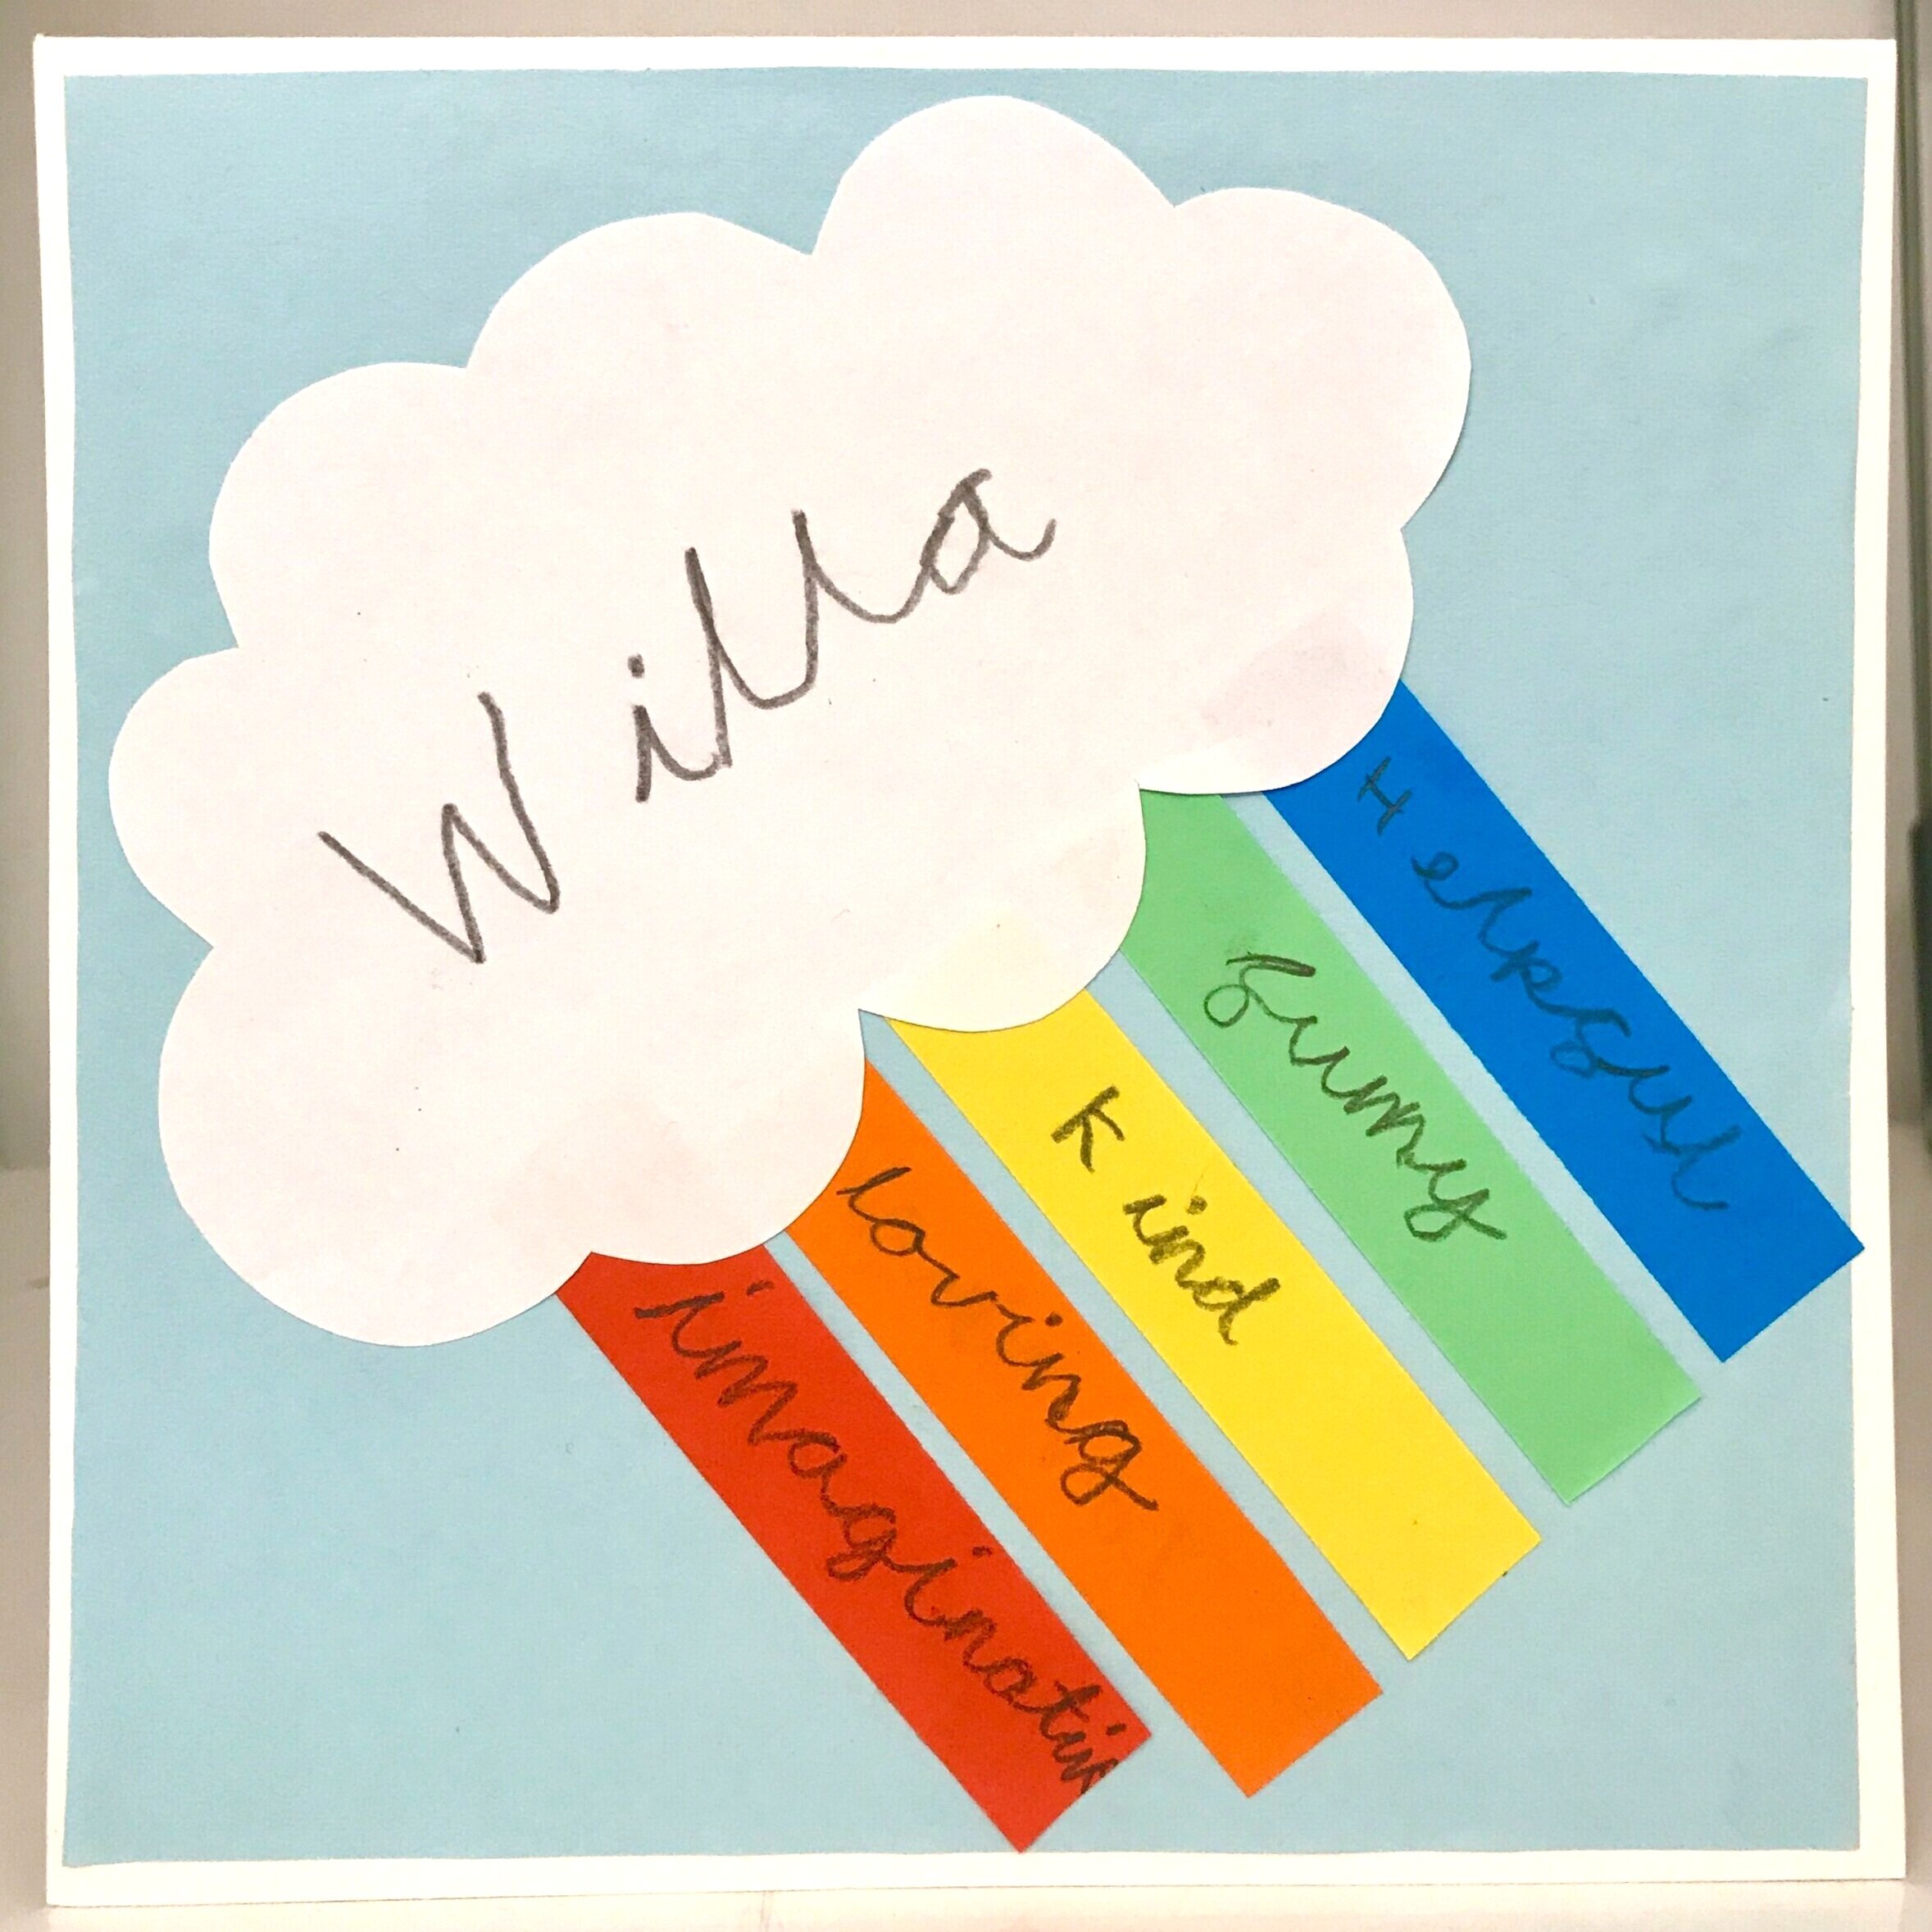
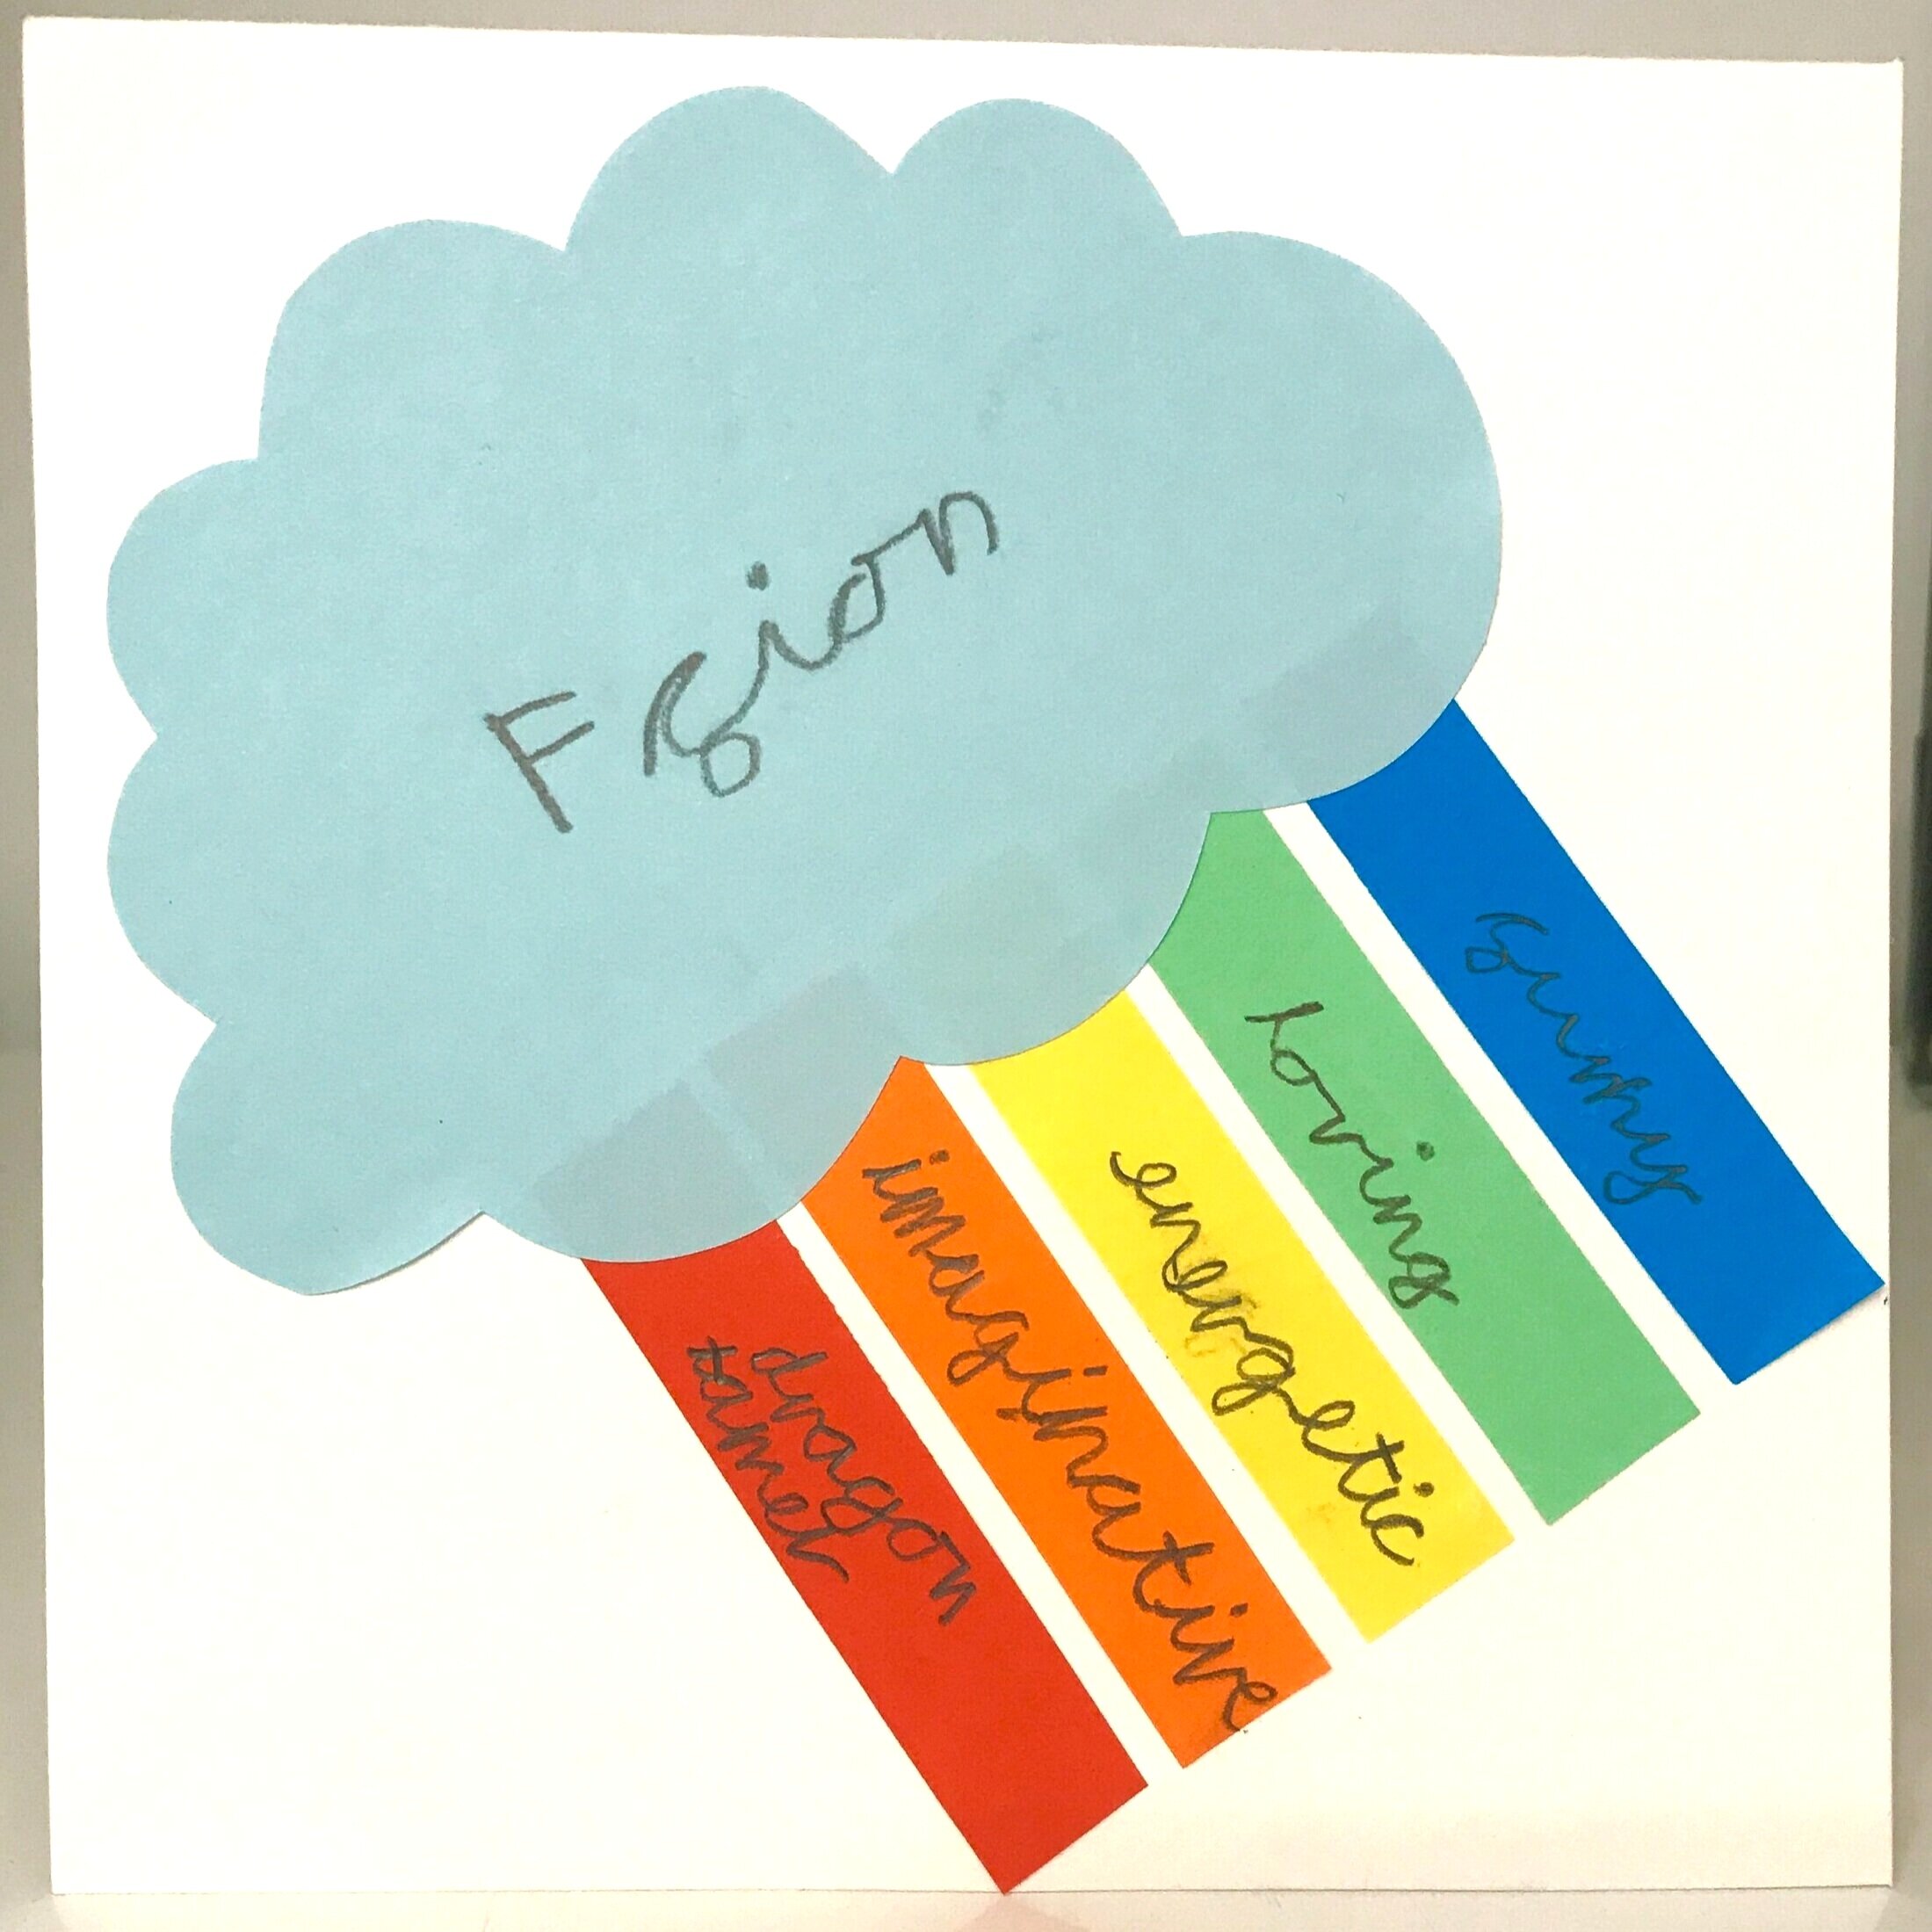
Rainbows of friendship (Ideal for KS1+)
Rainbows have become synonymous with lockdown, so why not use these cheerful symbols of hope to spread some cheer amongst friends. There’s nothing clever here, just pieces of coloured paper cut and stuck onto card, but I love that they can be personalised and I am sure that Annabel’s friends will love to receive them.
Holding hands (Ideal for KS1+)
We may not be able to hold hands with anyone outside our own bubbles at present, but these cards are lovely symbols of friendship.
Draw round your hand on a piece of coloured paper.
Cut the hand out (if you put two pieces of paper on top of each other you can save time and effort and make both hands at the same time)
Interlink the fingers and gently glue onto a piece of white paper.
We then cut this out, repeated the process on red paper and finally stuck onto card.

Top Tip:
When cutting two pieces of paper at the same time, put paper clips around the edges to help prevent the bottom piece of paper from slipping. As you cut, you can move the paperclips to help keep it all secure.
CRAFTS
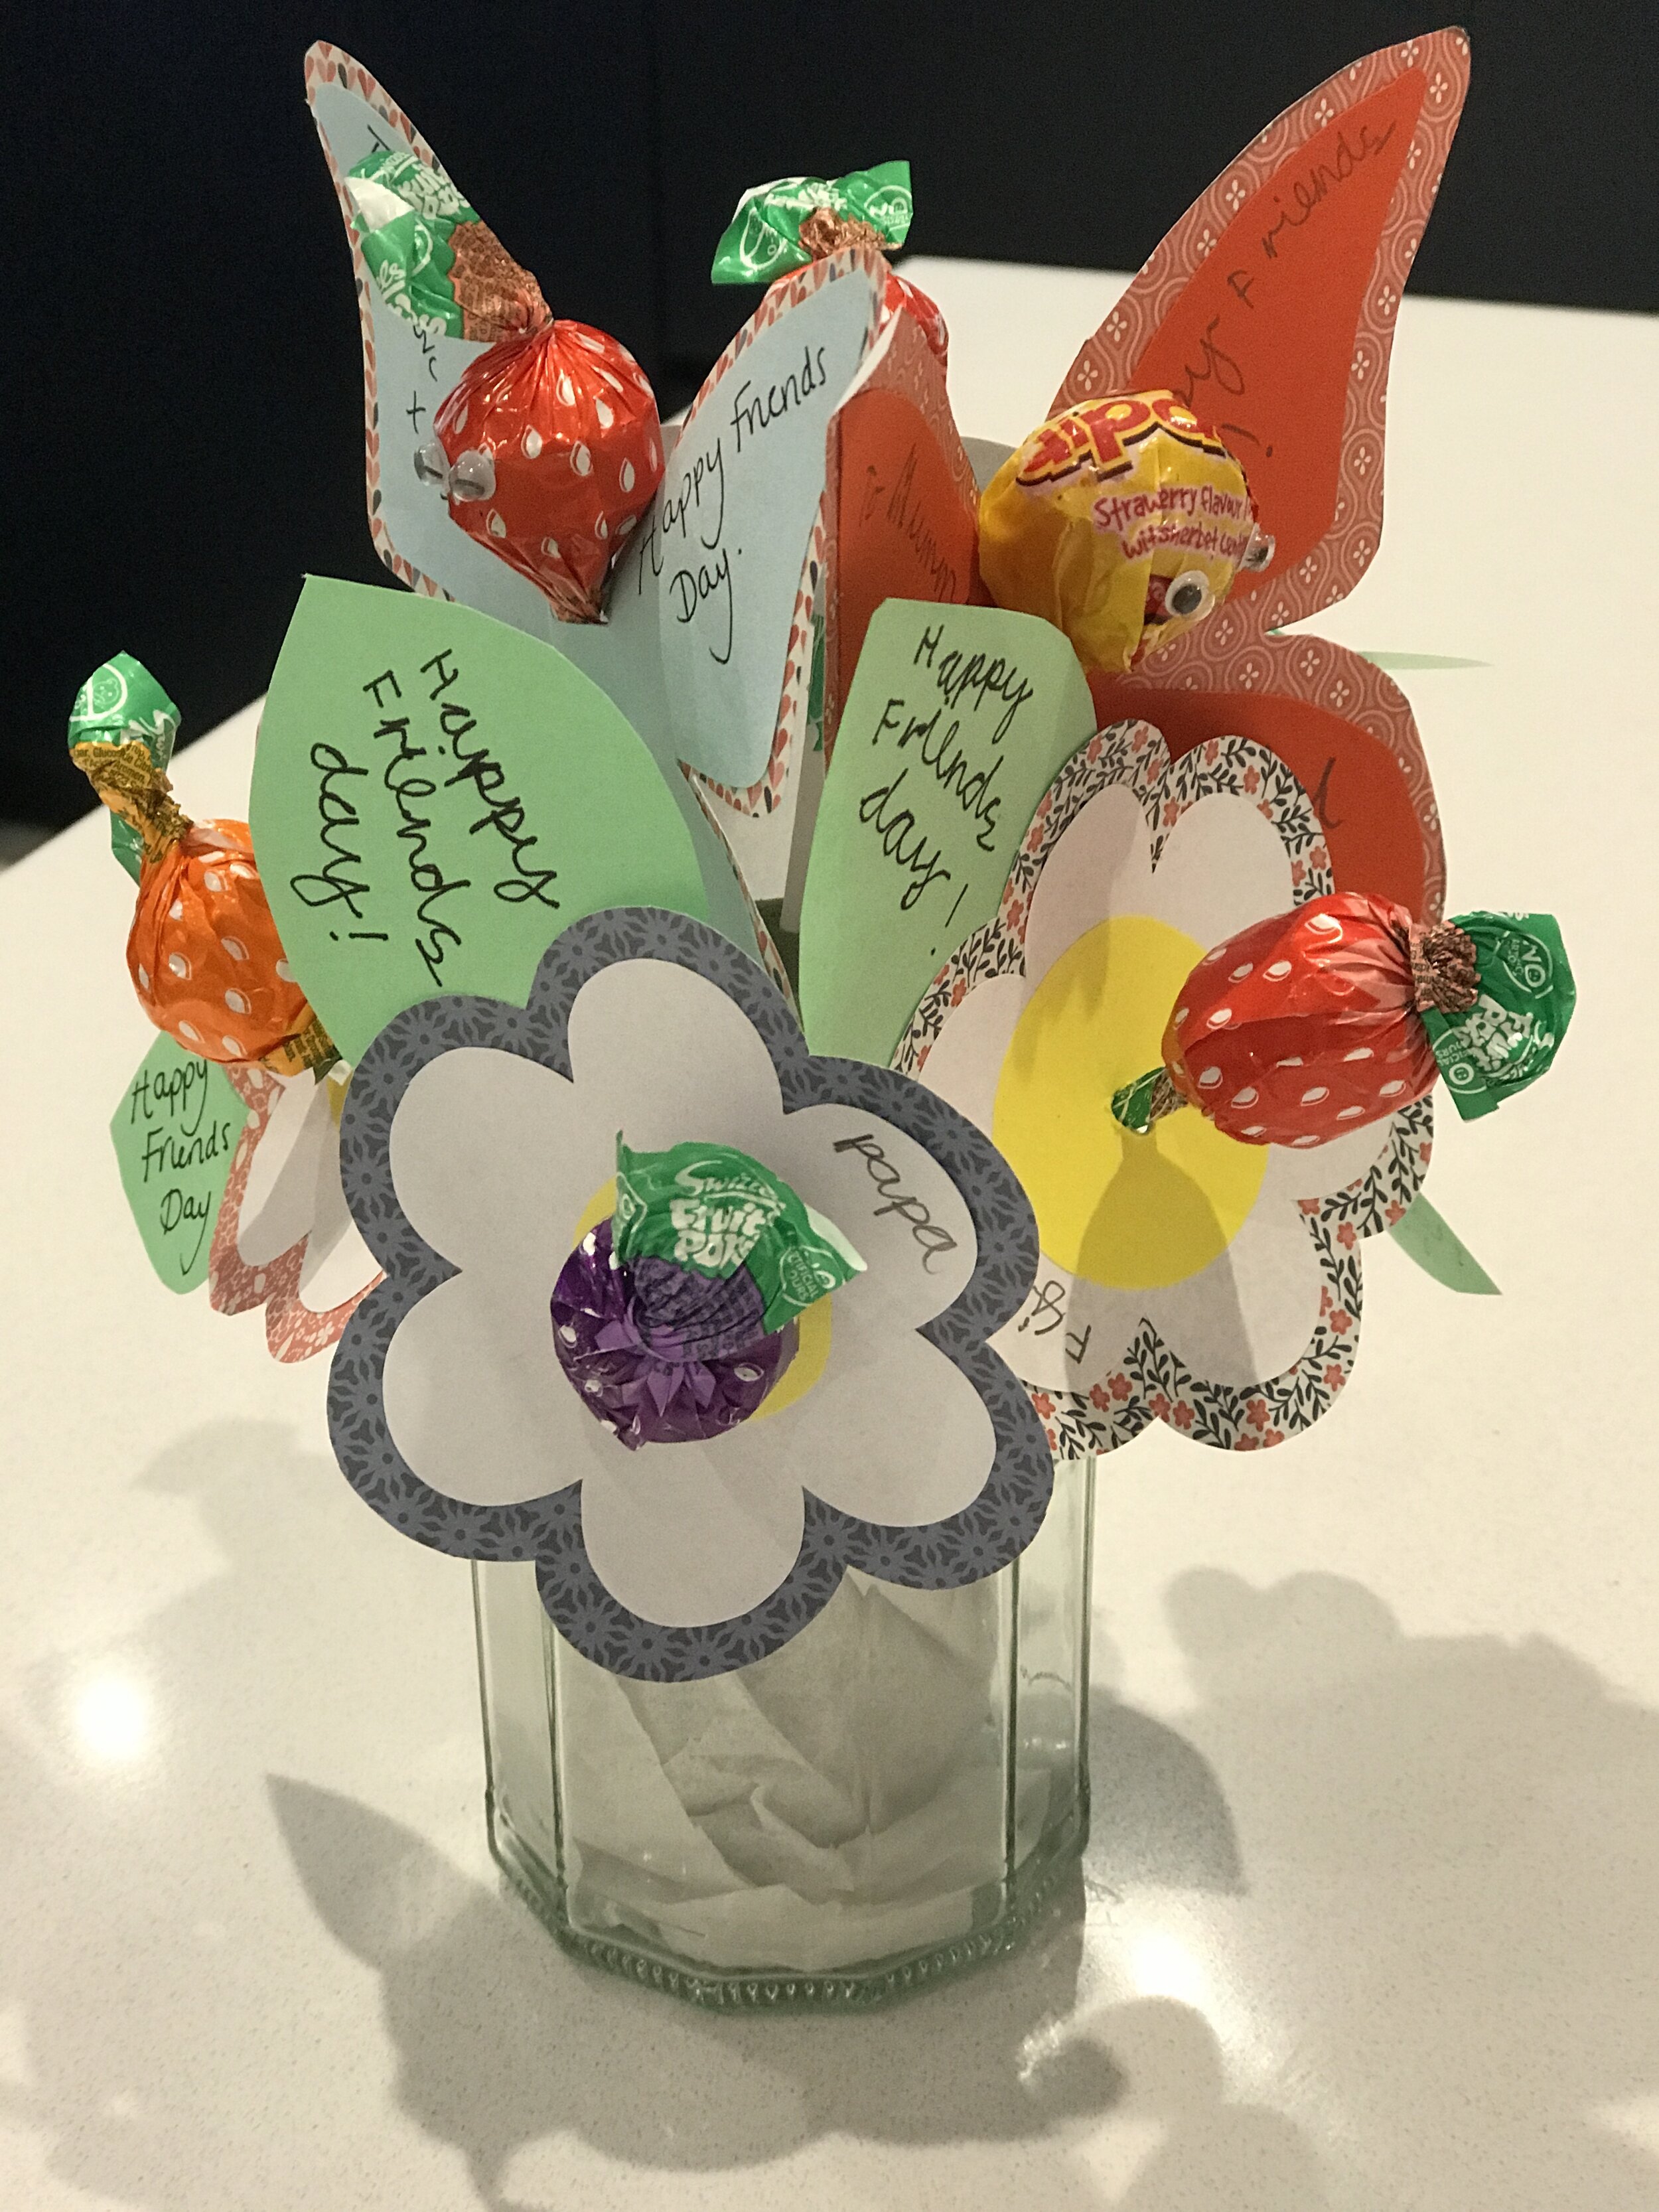
Lollipop Flowers (KS1 with support, KS2 independently)
These would make cute surprises for your own children on Friend’s day, or could be popped through the door of friends in your local area. (If doing this, please comply with government guidelines)
Cut out a flower from paper (I used a cookie cutter as a template), a small circular flower centre (or this could be drawn on) and a leaf shape.
Stick them together and write a message to your friend on the leaf.
Pierce a hole through the centre and thread a lollipop through.

Top Tips:
When piercing holes, place a piece of blue tac, play dough or even a rubber on the table and place your paper over the top. You can then gently press down using a pencil or scissor blade.
To make a lollipop butterfly:
Cut out a butterfly shape and decorate with colours, stickers or sequins.
Fold the butterfly in half (as if it were closing its wings) and make two 1cm cuts inwards from the folded edge (hopefully the photo below will help that make sense!)
Thread the lollipop through these cuts.
If you fancy, pop some googly eyes onto the lollipop.

If you’d like a super quick option to surprise your children, Skip to my Lou has a printable version which you can simply print onto white card and cut out.
(My printer ink has been enormously overused whilst homeschooling over the last weeks, so instead of vibrant pink and red, my printed butterflies came out a rather murky shade of brown! However, these made great stencils for Annabel to draw round and gave a consistency of size and shape to our butterflies - they’re tucked away ready for our next butterfly crafting activity!)
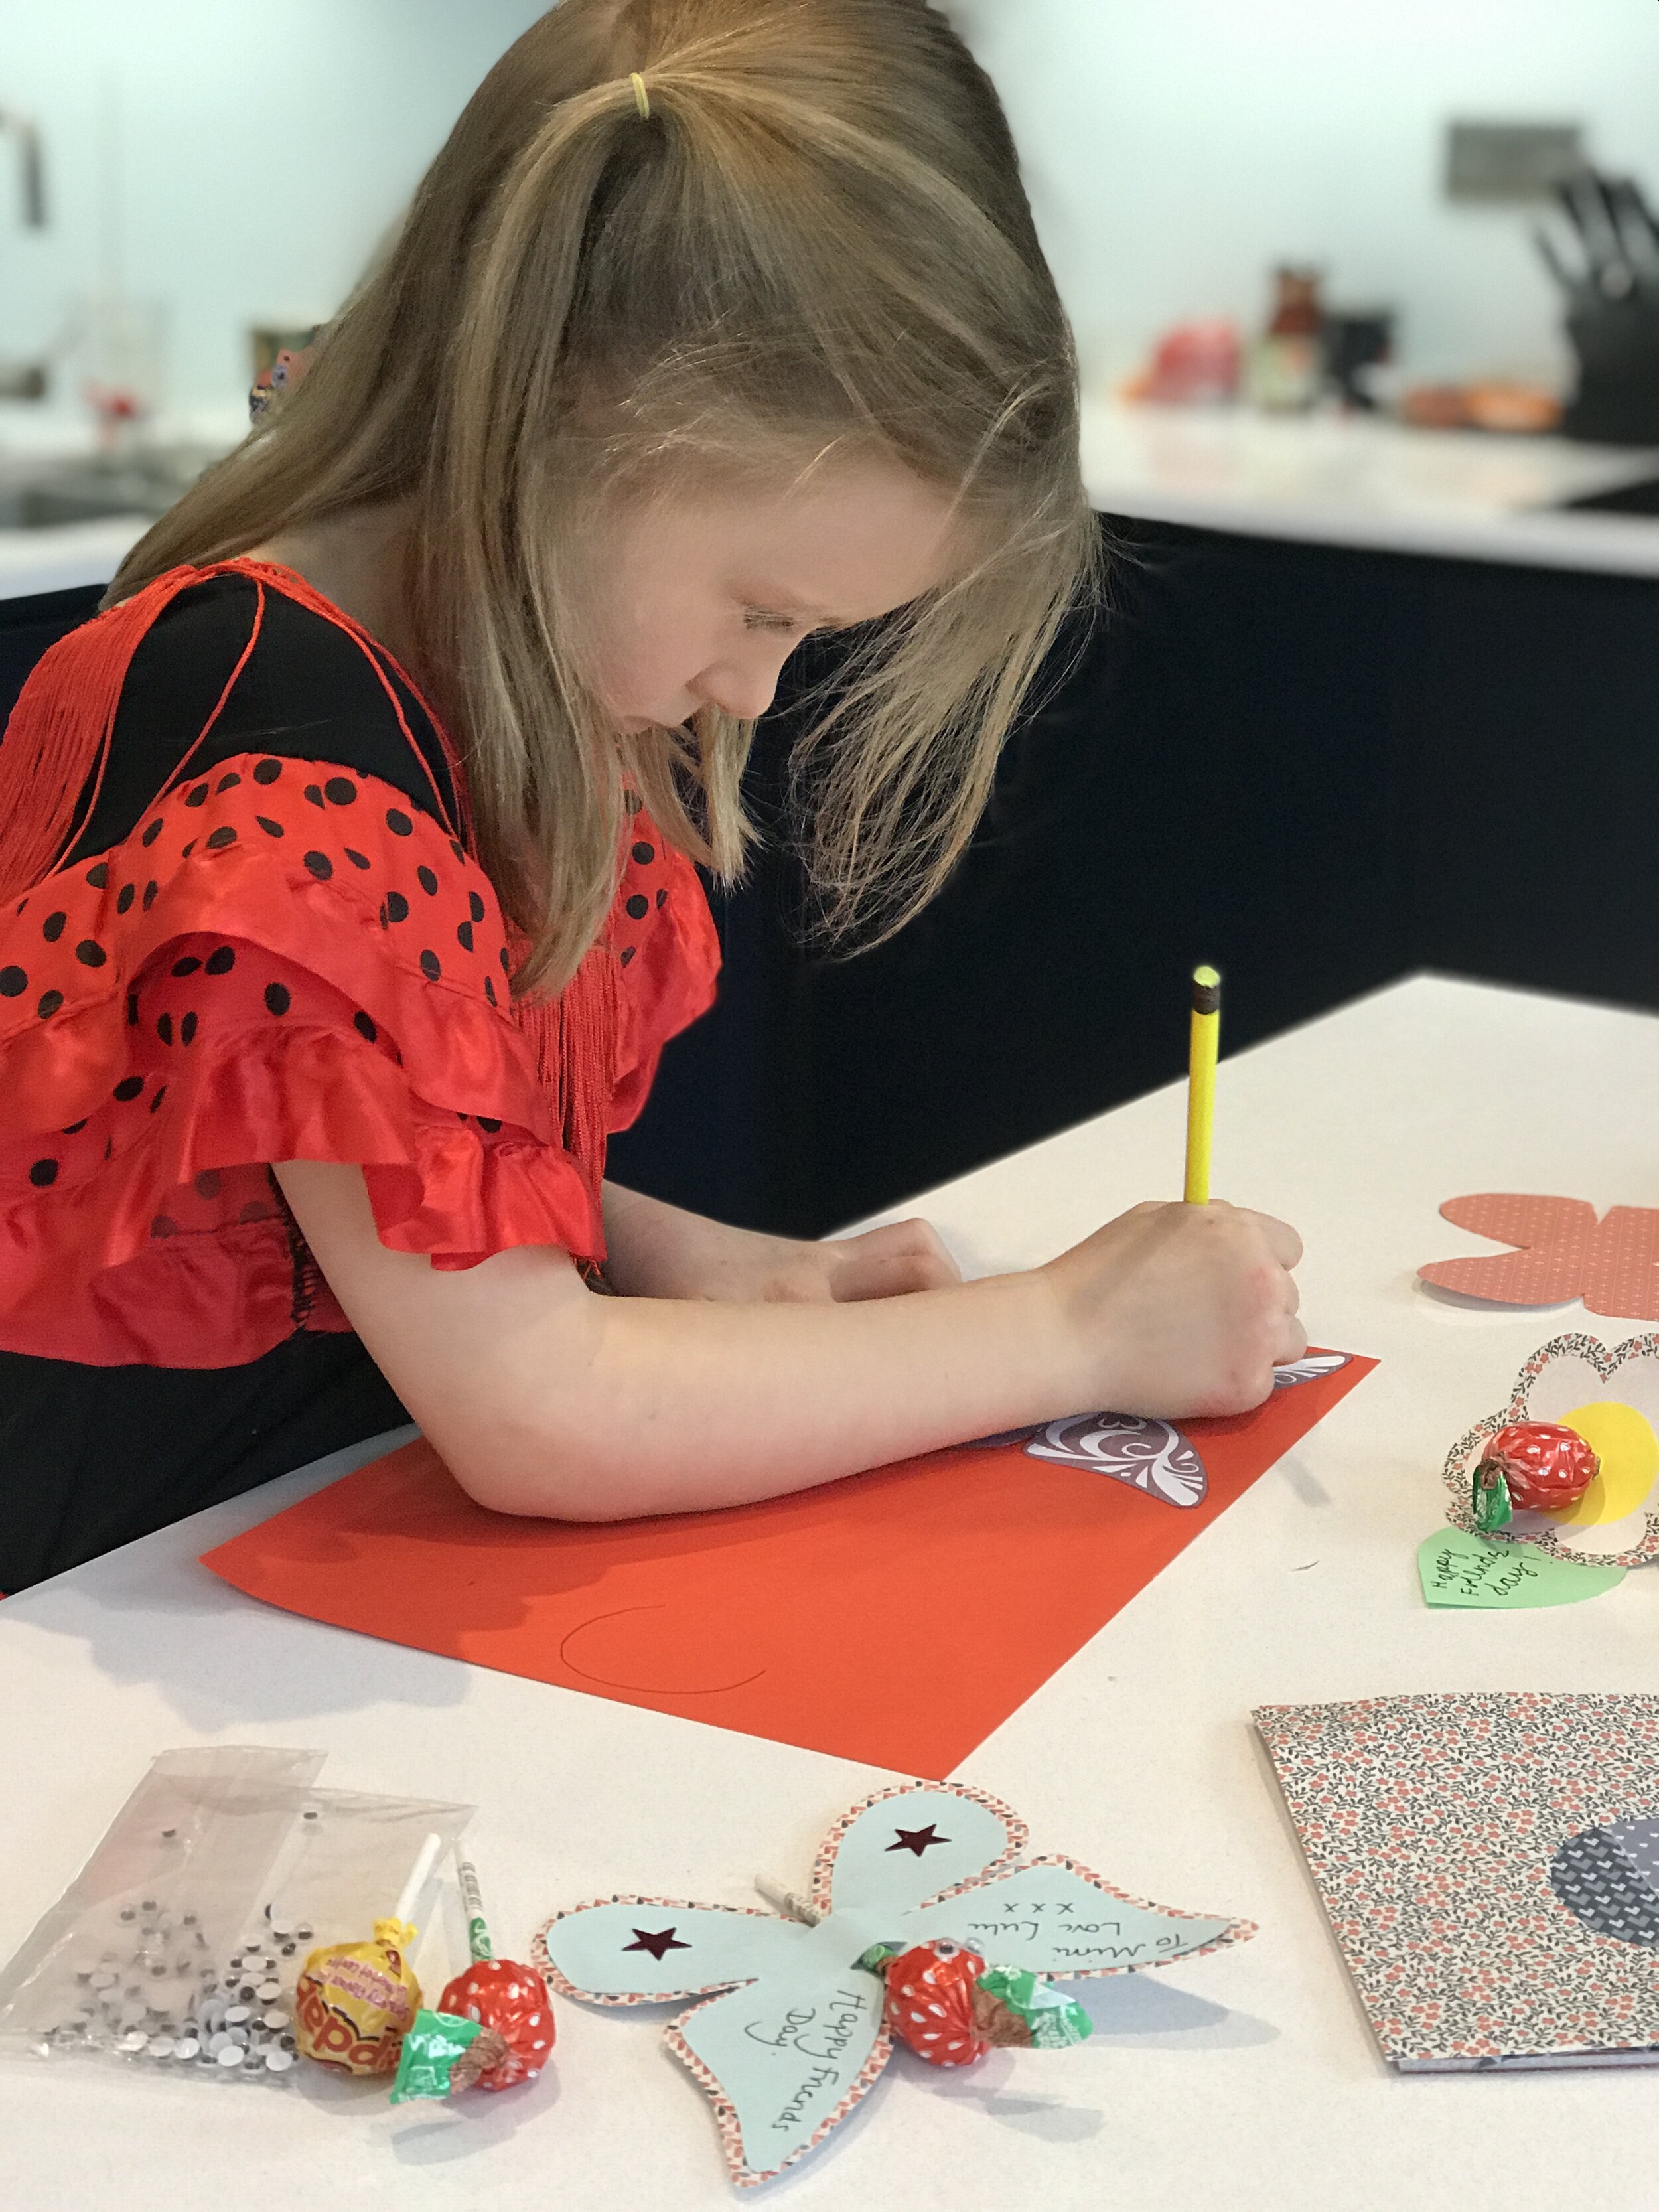
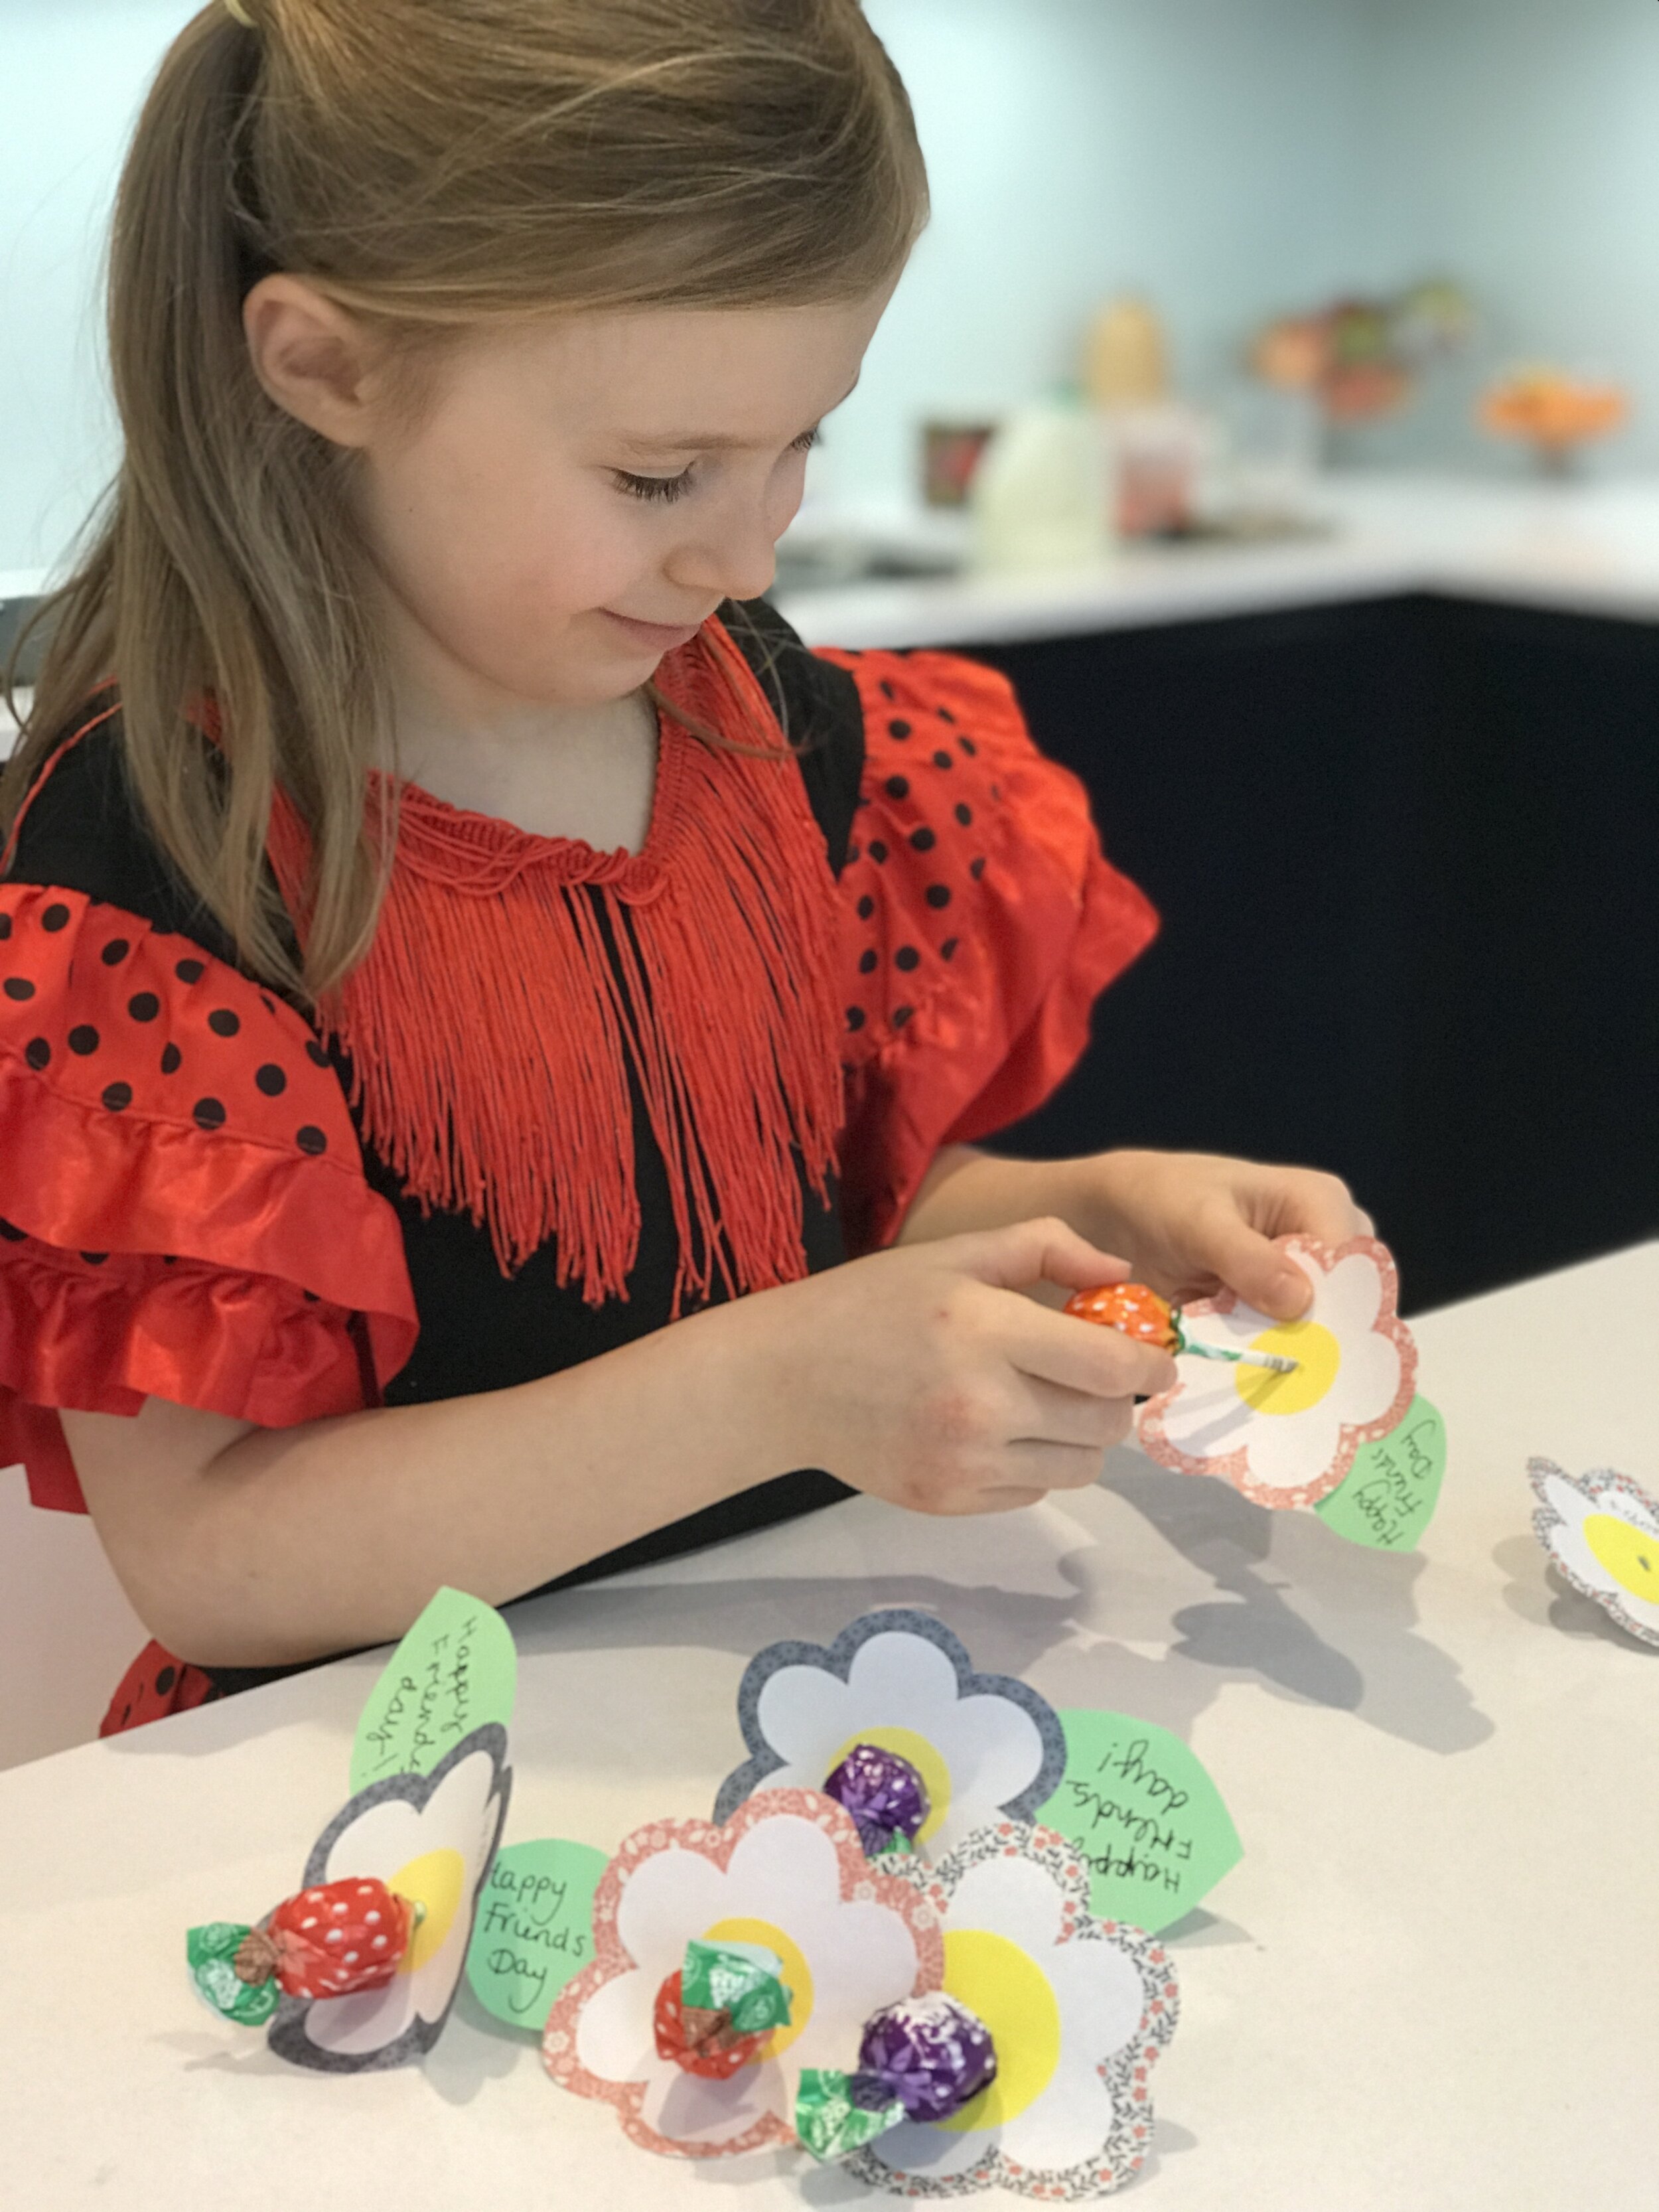

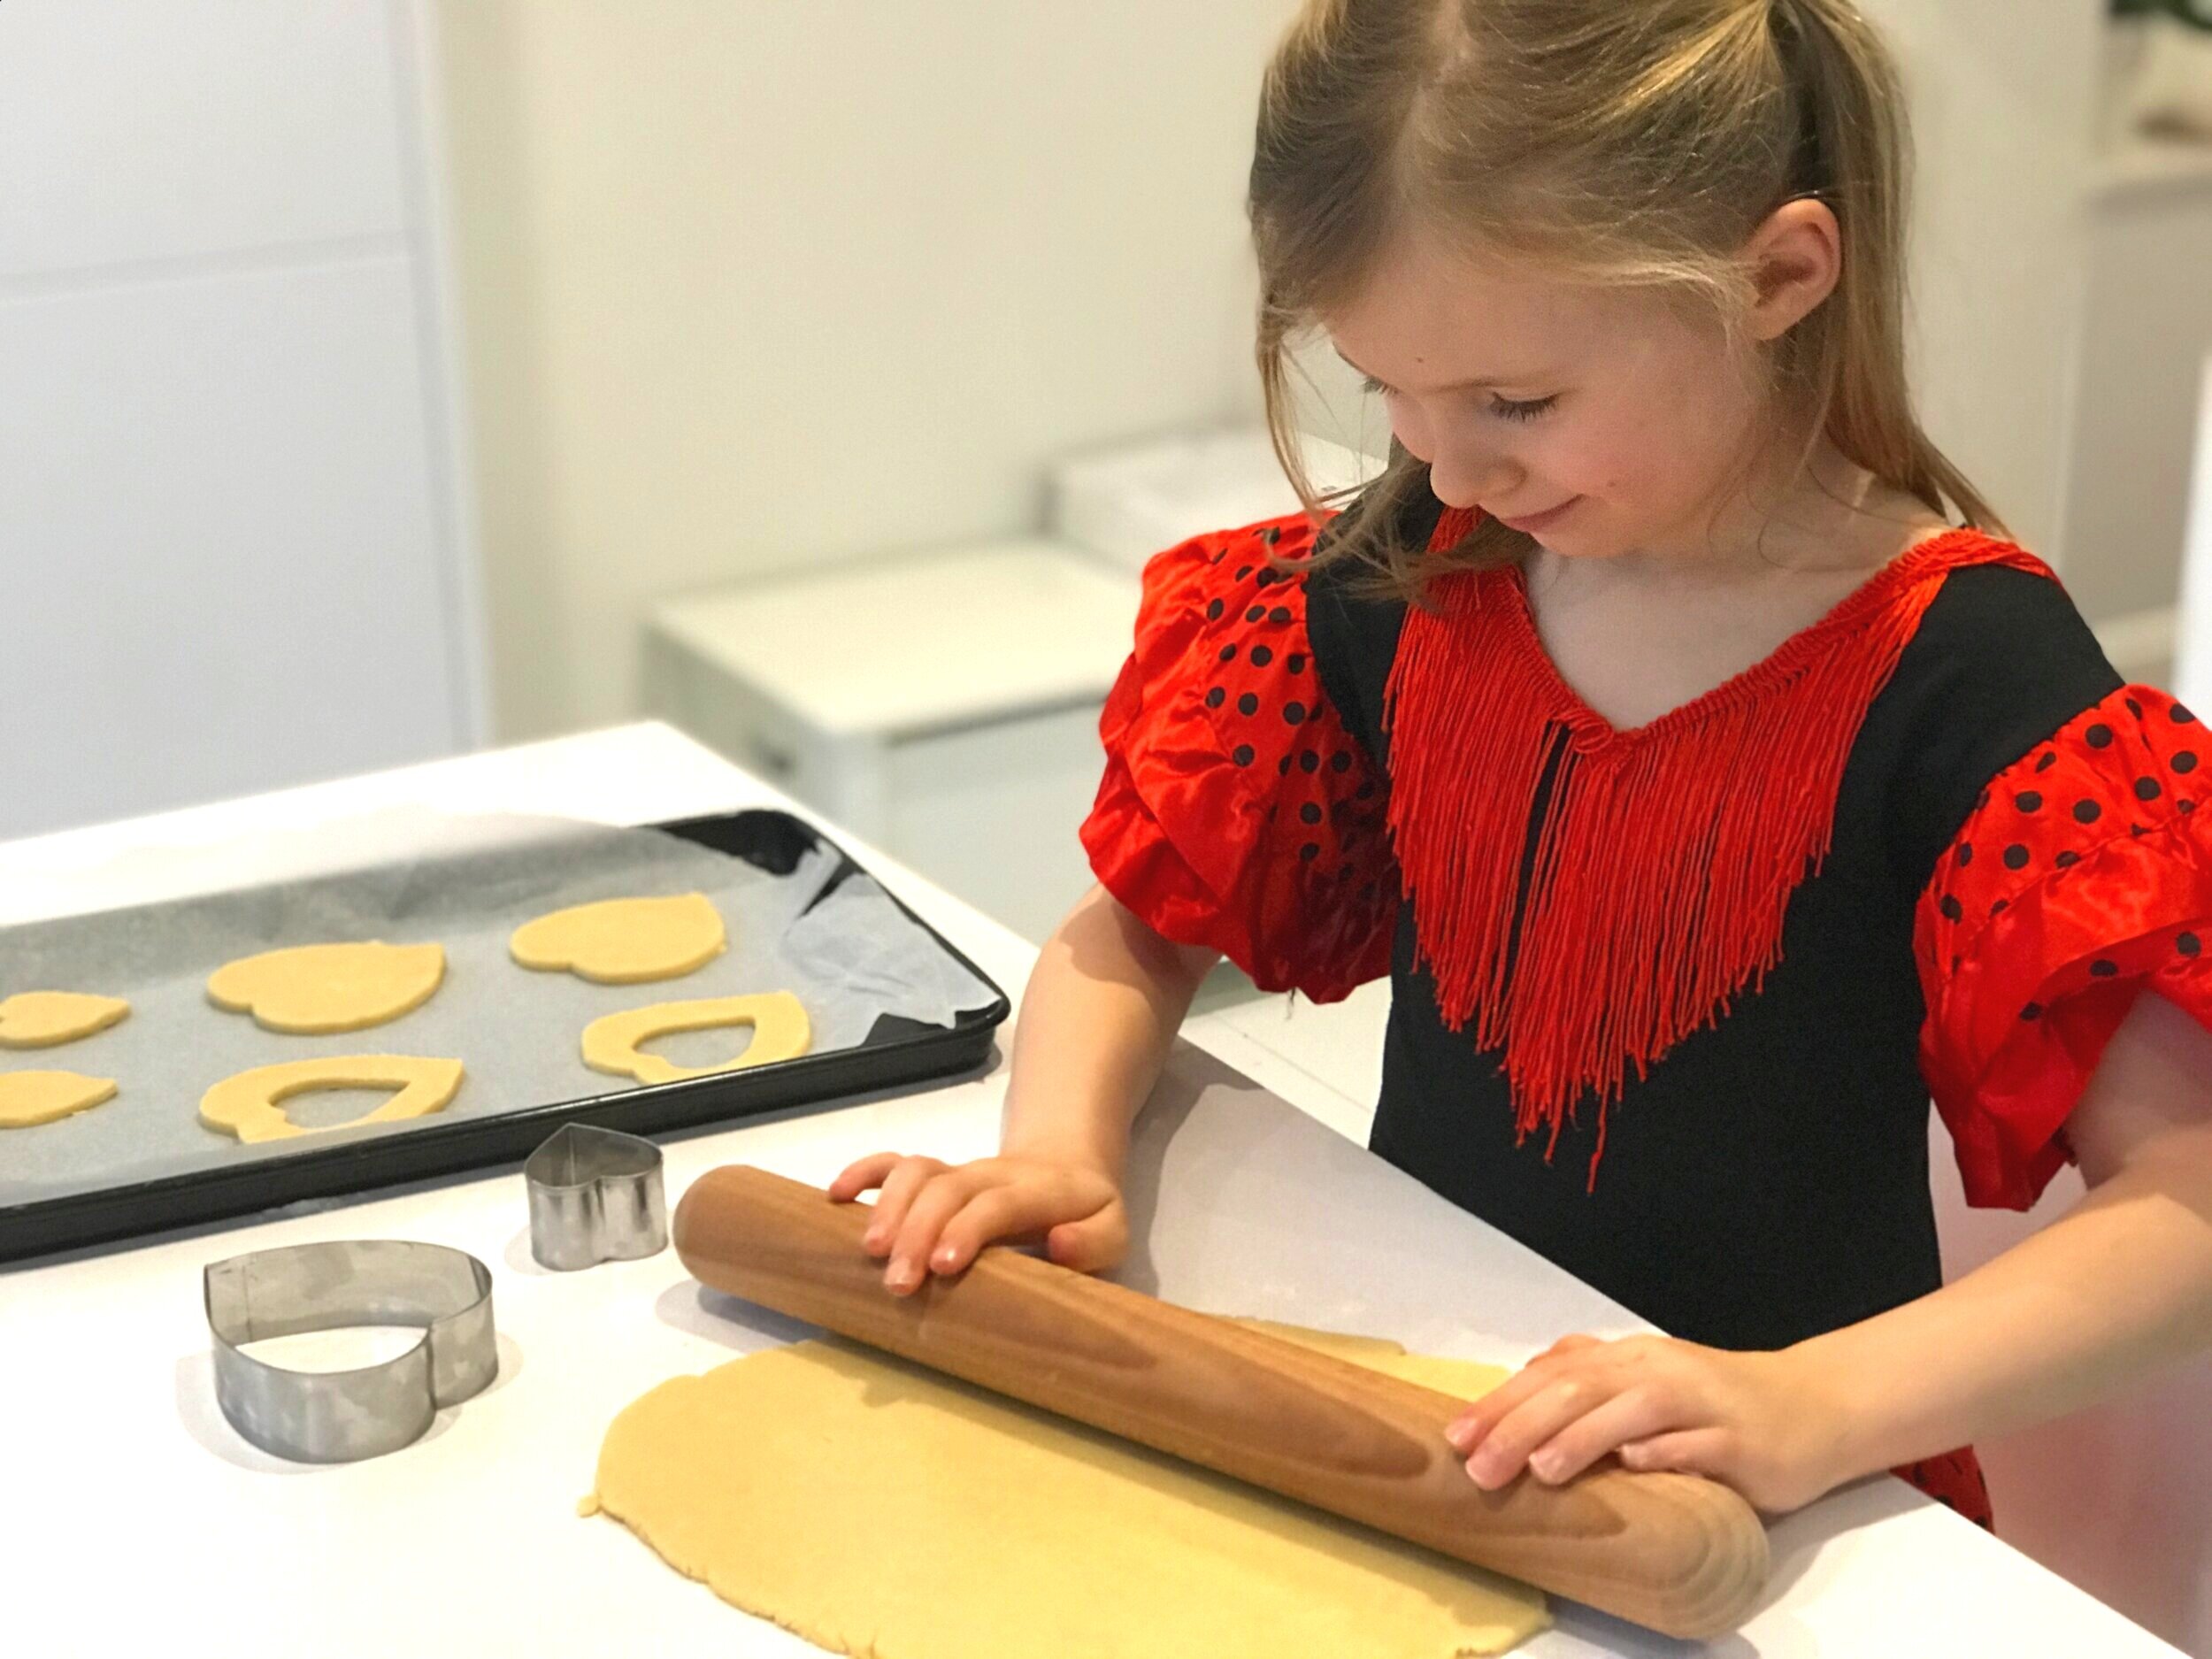
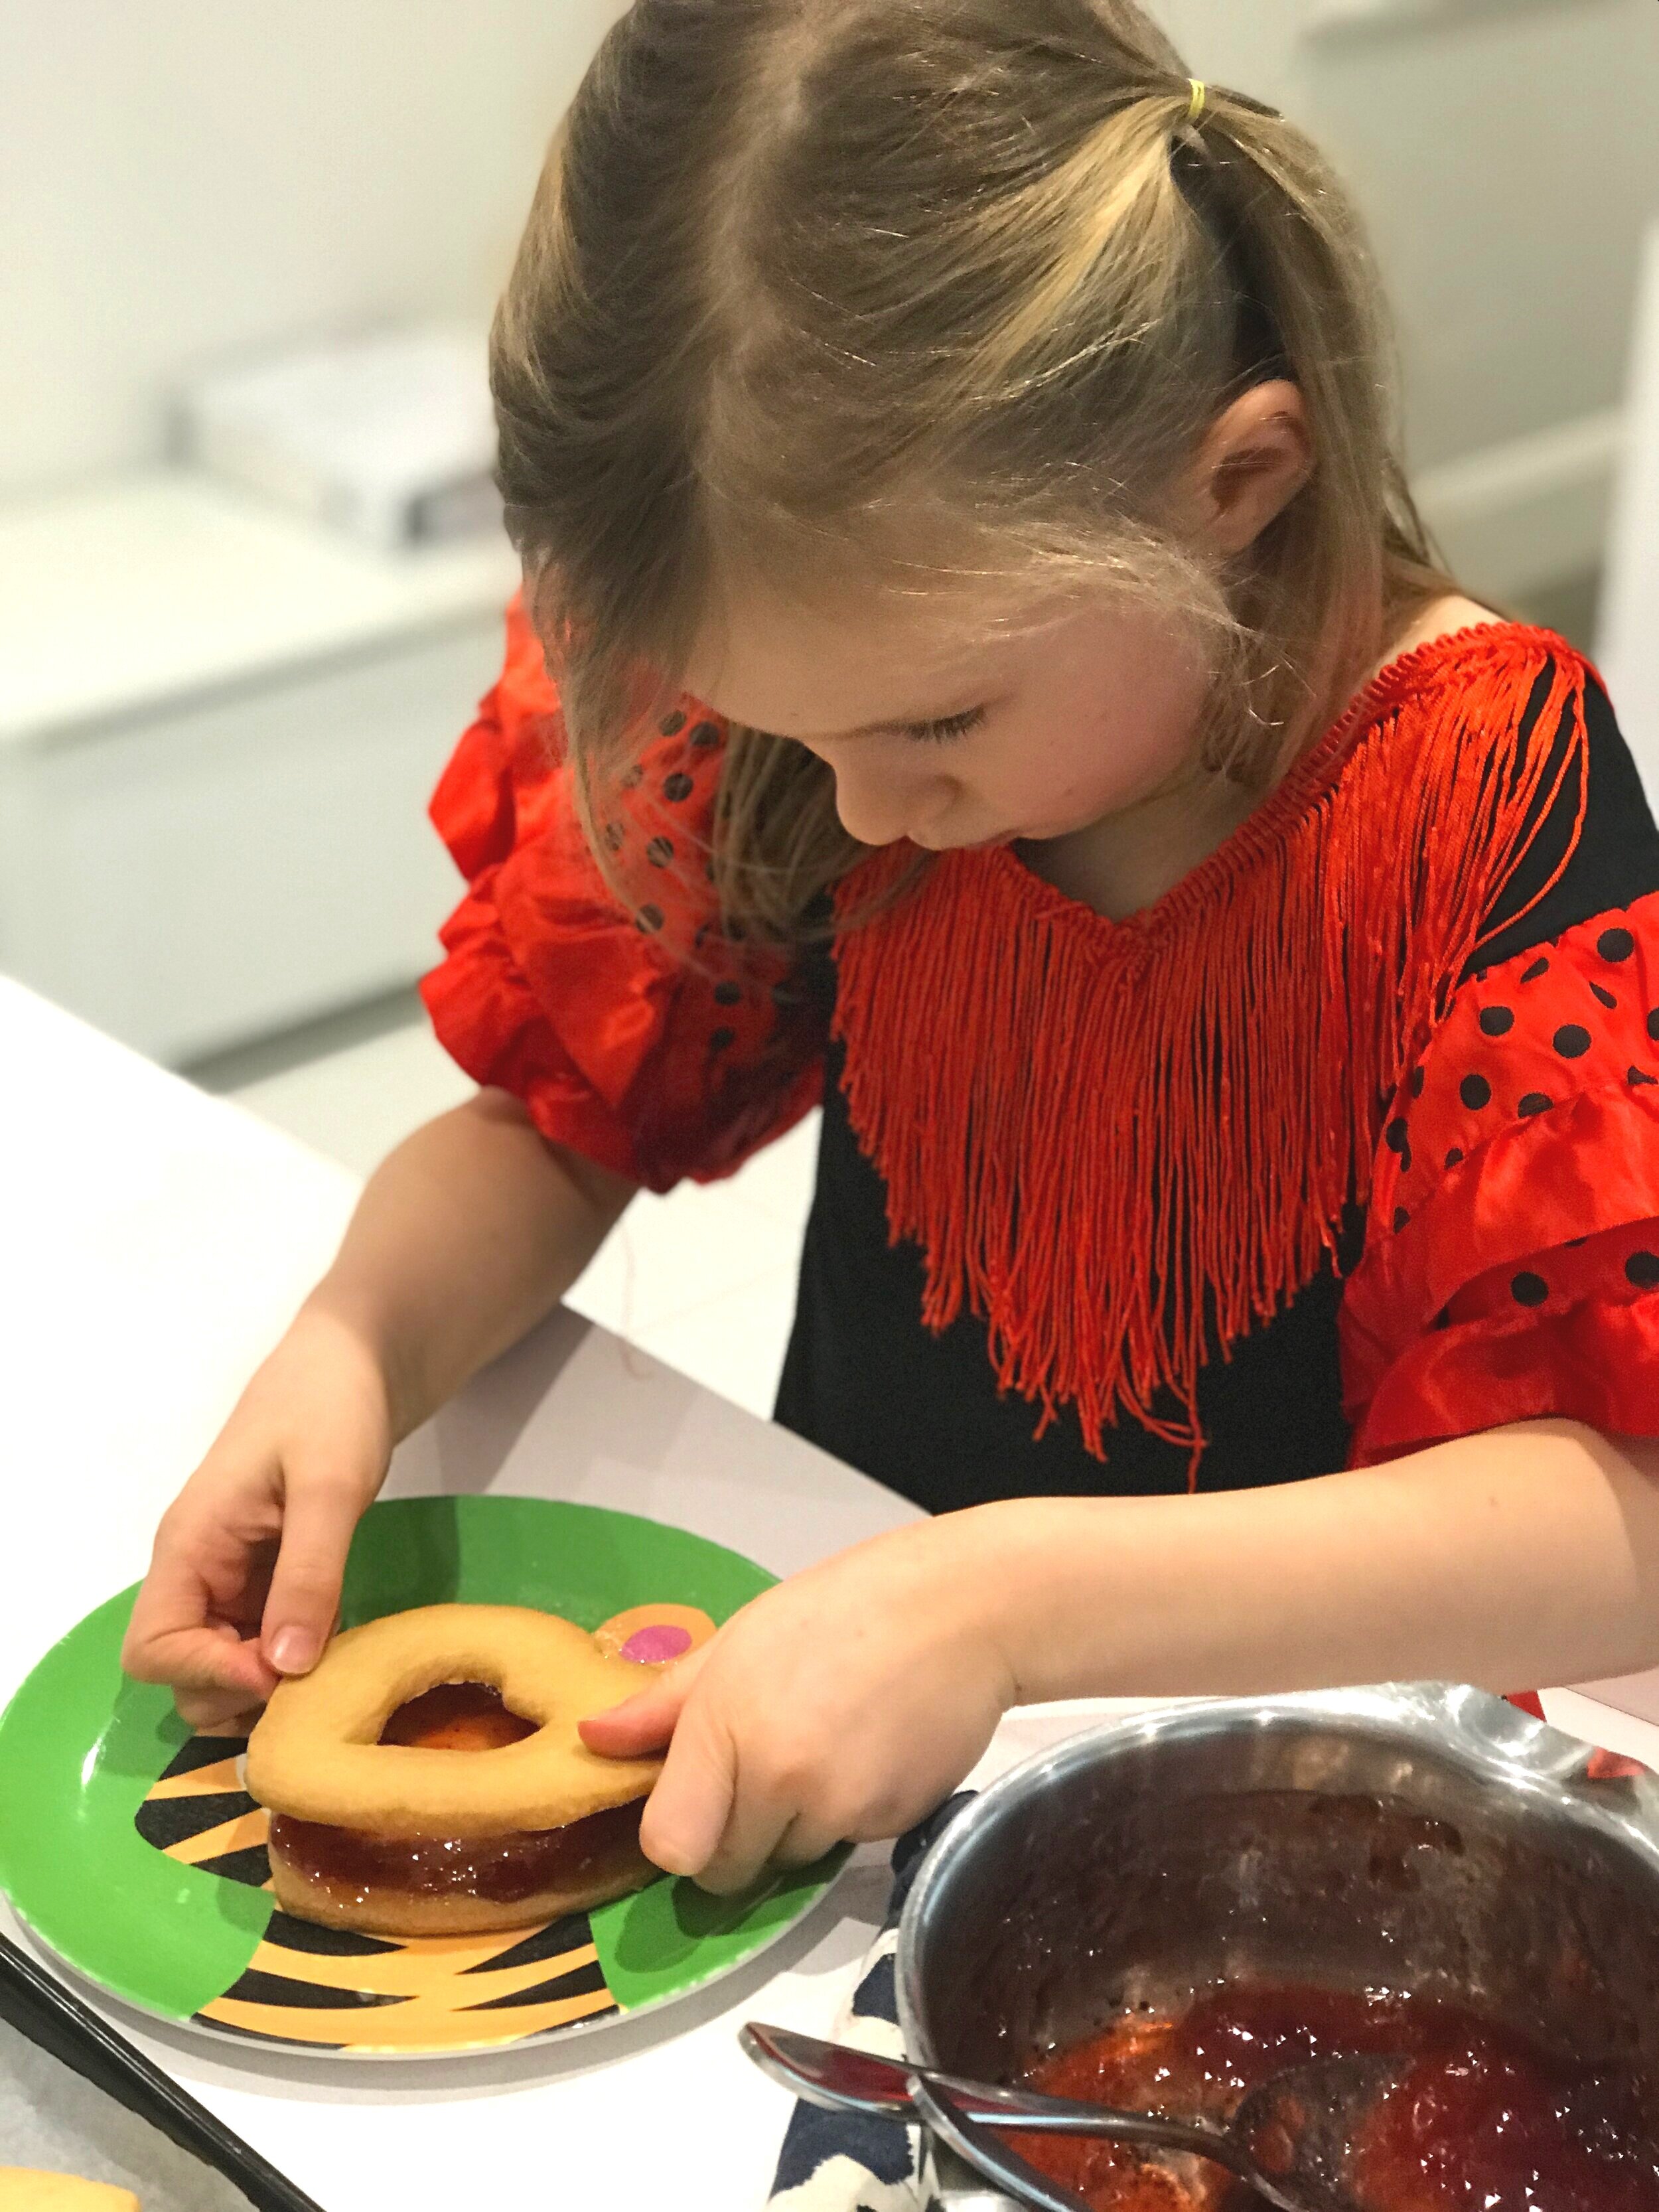
(Annabel taking advantage of her homeschooling Funday Friday by wearing a flamenco costume whilst crafting… well, why not!)
A little hug in the post (ideal for Early Years and KS1 with support)
During the first lockdown, Annabel and I made and sent this special hug for her grandparents. It has been on display in their kitchen ever since.

Draw around your hands on card and cut these out. You can add a little message to each including who this special hug is to and from.
Measure a piece of string the same size as your child’s hug: from the tip of the fingers of her outstretched left arm, across her chest and all the way to the tip of the fingers of her outstretched right arm.
You can buy something similar (though rather more professional!) from Brighton based illustrator Leelu. I was the lucky recipient of one from a lovely friend a while back. It was completely unexpected and a much needed pick me up.
‘Stained glass’ windows (Ideal for KS1 with support, and KS2)
Over the last year, we’ve enjoyed spotting both rainbows and teddy bears displayed in people’s windows whilst out walking, so why not spread some love this Valentines by making these gorgeous hearts for your window. You can buy prepared kits at Baker Ross, but we made our own with black card and left over sweet wrappers (anyone else suffering from a chocolate obsession at the moment?!)

Fold a piece of black A4 thin card or paper in half and draw half a heart (make sure the centre of the heart is on the folded edge)
Cut out both sides and open up your heart.
Draw simple shapes (hearts, squares, circles or strips) on the heart leaving plenty of black space between them.
Carefully cut out the shapes - this is the trickiest part and it will quickly become apparent that simple rather than intricate shapes are the way to go!
Using glue, stick some cellophane chocolate wrappers on to the back.
Pop in a sunny window and enjoy the glowing colours.
Heart shaped paper chains (Ideal for KS1 with support and KS2)
These a lovely alternative to the classic paper chain.
Cut thin strips of different coloured paper (about 2cm wide and the full length of an A4 piece of paper).
Fold each in half (to make the point of the heart).
Curve the two loose ends together and staple on the inside.

Top tips:
Using a stapler is tricky for little hands, but putting it down on the table and using both hands to press down is one way of adding extra force. Supervise your little ones of course though! You could use glue or double sided sticky tape if you prefer.
Using an odd number of colours looks best in my opinion, but experiment and see what you like best.
A Pocket Hug (KS1 with support and KS2 )
I saw these cute little felt hearts from keen crafter and mum of three, Ana, online - such gorgeous little gifts with a special message. You could buy them ready made and send directly to friends and family, or if you’re up for a bit more of a challenge, why not have a go at sewing something similar with your own little crafters.
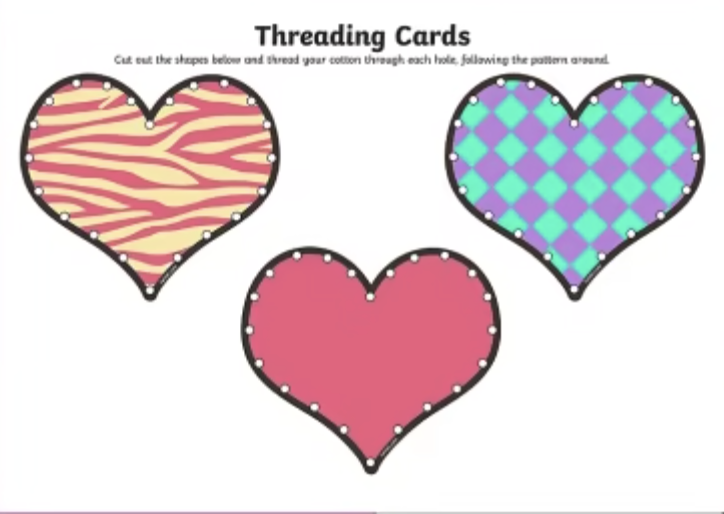
If you have younger children who’d like to try to sewing, cut a larger heart out of card and punch holes around the outside. Your little one can then either weave wool or string in and out by hand or use a large plastic needle, if you have one.

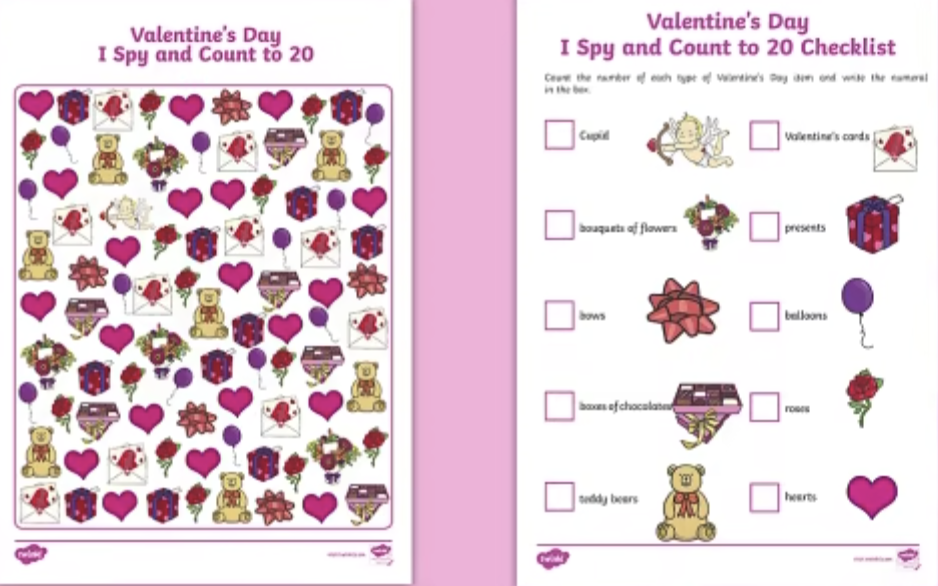
The Joy of Twinkl
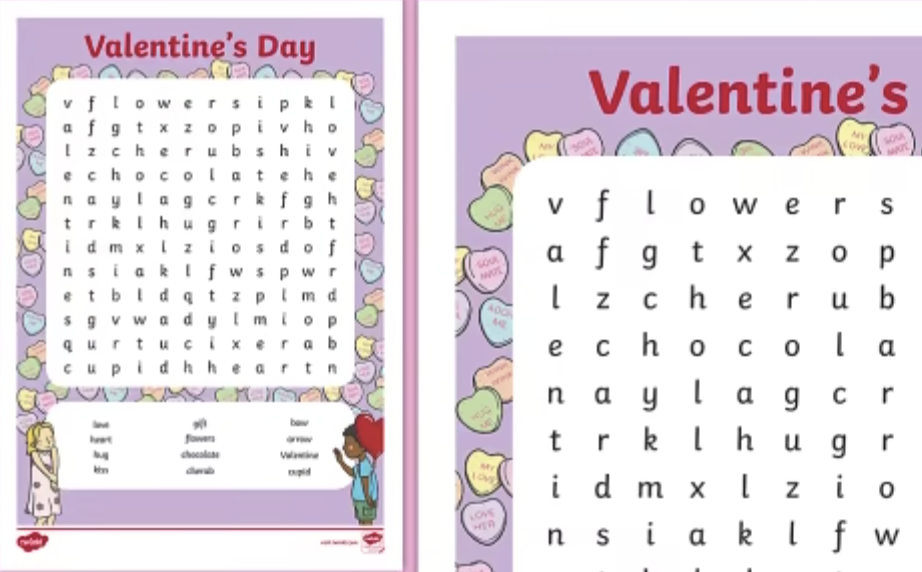
If you haven’t yet looked at Twinkl for homeschool teaching resources, then I strongly recommend that you do! Normally requiring a subscription, all the resources are currently free to help those who are homeschooling - the site cover a broad range of curriculum areas for Early Years, KS1 and KS2 children.
Early Years
KS1
Funky Cupid (and accessories!) colouring
KS2
YUMMY TREATS
Heart biscuits
These were so easy to make, and went down a treat - even with the grown ups!

Method:
Line two baking trays with baking paper.
Mix 80g (1/3 cup) of sugar with 160g (2/3 cup) of unsalted, softened butter (you could pop the butter into the microwave for a few seconds to make sure it is soft and therefore easier for little arms to mix)
Weigh 240g (2 cups) of plain flour and add to the mixing bowl.
Mix it all together (you could use a spoon or hands for this!).
Tip your mixture onto the work surface and press together until it forms a dough.
Chill in the fridge for 15 minutes (the dough, not you!)
Sprinkle some flour over your work surface and rolling pin to help stop the dough from sticking and roll it out to about 1/2cm thickness.
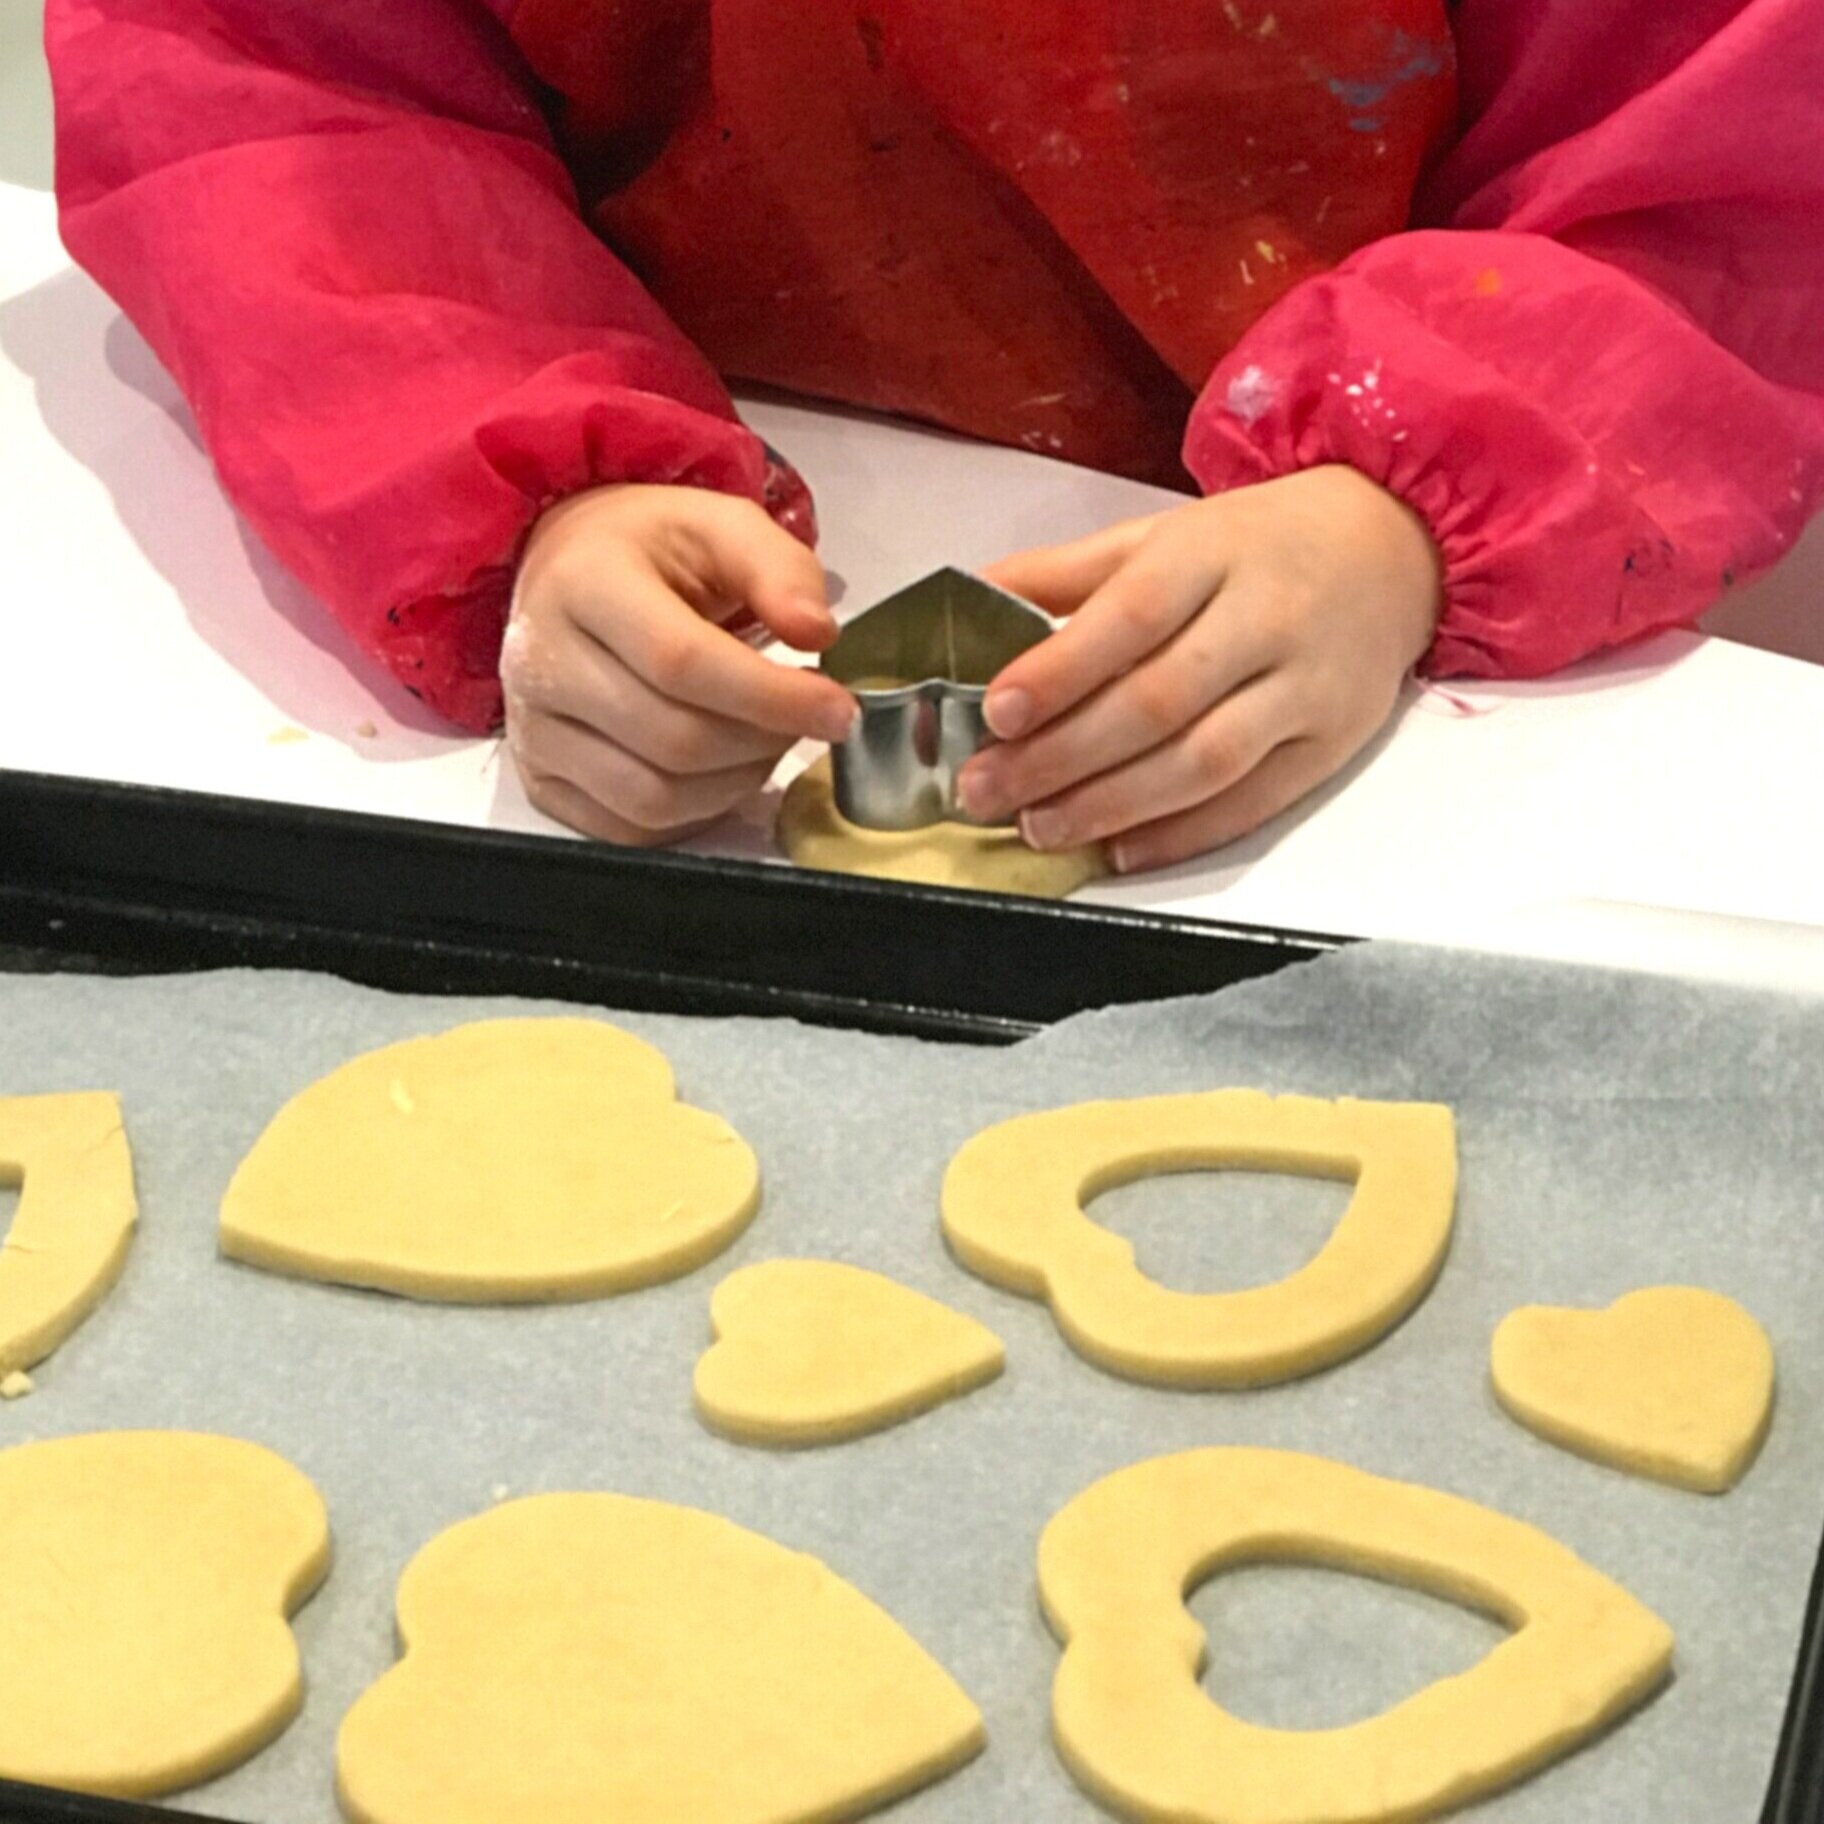
Stamp out large hearts using a cookie cutter. Cut out smaller hearts from half of these so that you have pairs of biscuit tops (with a heart window in them) and bottoms (complete hearts). The smaller cut out halves can also be baked rather than rerolled to make lovely mini biscuits (perfect with a cup of tea!)
Bake your biscuits for 15 minutes at 180c (fan). I swapped the two baking sheets over at 13 minutes to give the bottom ones a chance to colour too. They should be very slightly golden brown when ready.
When the biscuits are cool, warm some jam gently in a pan (or microwave) to make it a little more runny and spreadable.
Spread jam onto the complete bases and then sandwich a heart window biscuit on top. (We then dripped a bit of extra jam into the window for extra jammy yumminess!)
Enjoy!
Top Tip:
If you don’t have a large heart cutter, you could make circular biscuits instead - very much like large Jammy Dodgers!
If your dough is sticking to the work surface, try putting it between two sheets of baking paper and then rolling.
Sandwich fun
Why not jazz up lunchtime with heart-shaped sandwiches (or any other shape your child might enjoy!)
Heart shaped cupcakes
I spotted this clever and yet amazingly simple way of making heart shaped cupcakes on Emma Owl (it’s a lovely crafty website and well worth a look around). Simply put a baking bead (or something similar that can cope in the oven) between the cupcake case and muffin tin! Genius!

All you need is Love!
More than ever, we all need a bit of a boost at the moment and so I will be repeating an activity that was a huge hit with Annabel last year: on each day of February in the run up to 14th, I added a new heart to her bedroom mirror: each one listed a reason why I love her.
Things like:
‘You give great cuddles’
‘You ask great questions to help you understand’
‘You dance like nobody’s watching!’

As she was only 5 and in the early days of learning to read, I wasn't sure how she'd respond to the idea, but the protracted silence, smile and size of the cuddle that I received when she understood what I was doing was immense, and said so much more than words ever could! She ran up the stairs after school each day to look for her latest heart and we read them all again before she went to sleep.
Perhaps we should all have our own list of our best qualities to read to ourselves before bed? Perhaps you could ask your children to write some hearts for you - you may be surprised by some of the answers!)
And finally…
I’d love to round off my list of activities with a suggestion that you come and celebrate the love within your family with a photoshoot, but sadly, like so many other small businesses, photographers cannot work during lockdown.
In between homeschooling, I’m busy training and working on new ideas - I hope to share some of these successes with you soon. If you are considering a photoshoot once everything has opened up again, do get in touch. It’s lovely to chat to you and share your ideas and excitement.
Keep safe everyone. And hopefully it won’t be too much longer before I can welcome you back to the studio to capture fun, smiles and that all important, love!
