

Autumn is a particularly a fabulous time for walks with little ones: there are shiny conkers to discover and piles of leaves to kick through.
Whilst you’re out and about why not collect some beautifully coloured leaves and try the following crafty ideas when you get home…
AUTUMN CROWNS
These are so simple to make, but are really impactful.
You will need: a piece of thin card, selection of leaves, double-sided sticky tape.
Cut a band of card slightly longer than the circumference of your child’s head, but don’t yet join it up.
Put strips of double-sided sticky tape down the length of the card.
Encourage your child to stick their foraged leaves along the tape - these look great when projecting above the card as it gives a fabulous shape to the top of their crown ( - you can trim excess from below the strip if you need to.)
If you’ve collected lots of lovely autumnal treasures, you can add an extra layer of tape onto top of the first layer of leaves, and adorn with smaller leaves, feathers or flowers.
Use double sided tape to turn the strip into a completed crown.


STAINED ‘GLASS’ WINDOWS
These beautiful falling leaves can add gorgeous colours to your windows.
You will need: thick paper or card (we used black), pen, sticky-backed plastic, tissue paper or transluscent sweet wrappers, scissors, leaves (to use as templates)

Draw round some leaves foraged during your walk onto black card - you may be able to fit a few on one page as we did.
Cut out the inside of this shape keeping the rest of the page intact (small children will need help with this part)
Stick the page onto a piece of sticky-backed plastic so that the leaf-shaped holes are now sticky.

4. Rip up pieces of tissue paper and fill the leaf spaces, sticking them to the sticky-backed plastic so that there are no gaps remaining.

5. Cut out the leaves leaving a small black border (approx 1cm) all the way round (again, small children will need help with this stage).
6. Use blue tack to attach the leaves to your window and enjoy the glowing colours as the sun shines through.
Alternative - Annabel had collected and kept chocolate wrappers from last Christmas’s selection box which she chose to use instead of tissue paper (see below - the jewel-like colours really pop!)

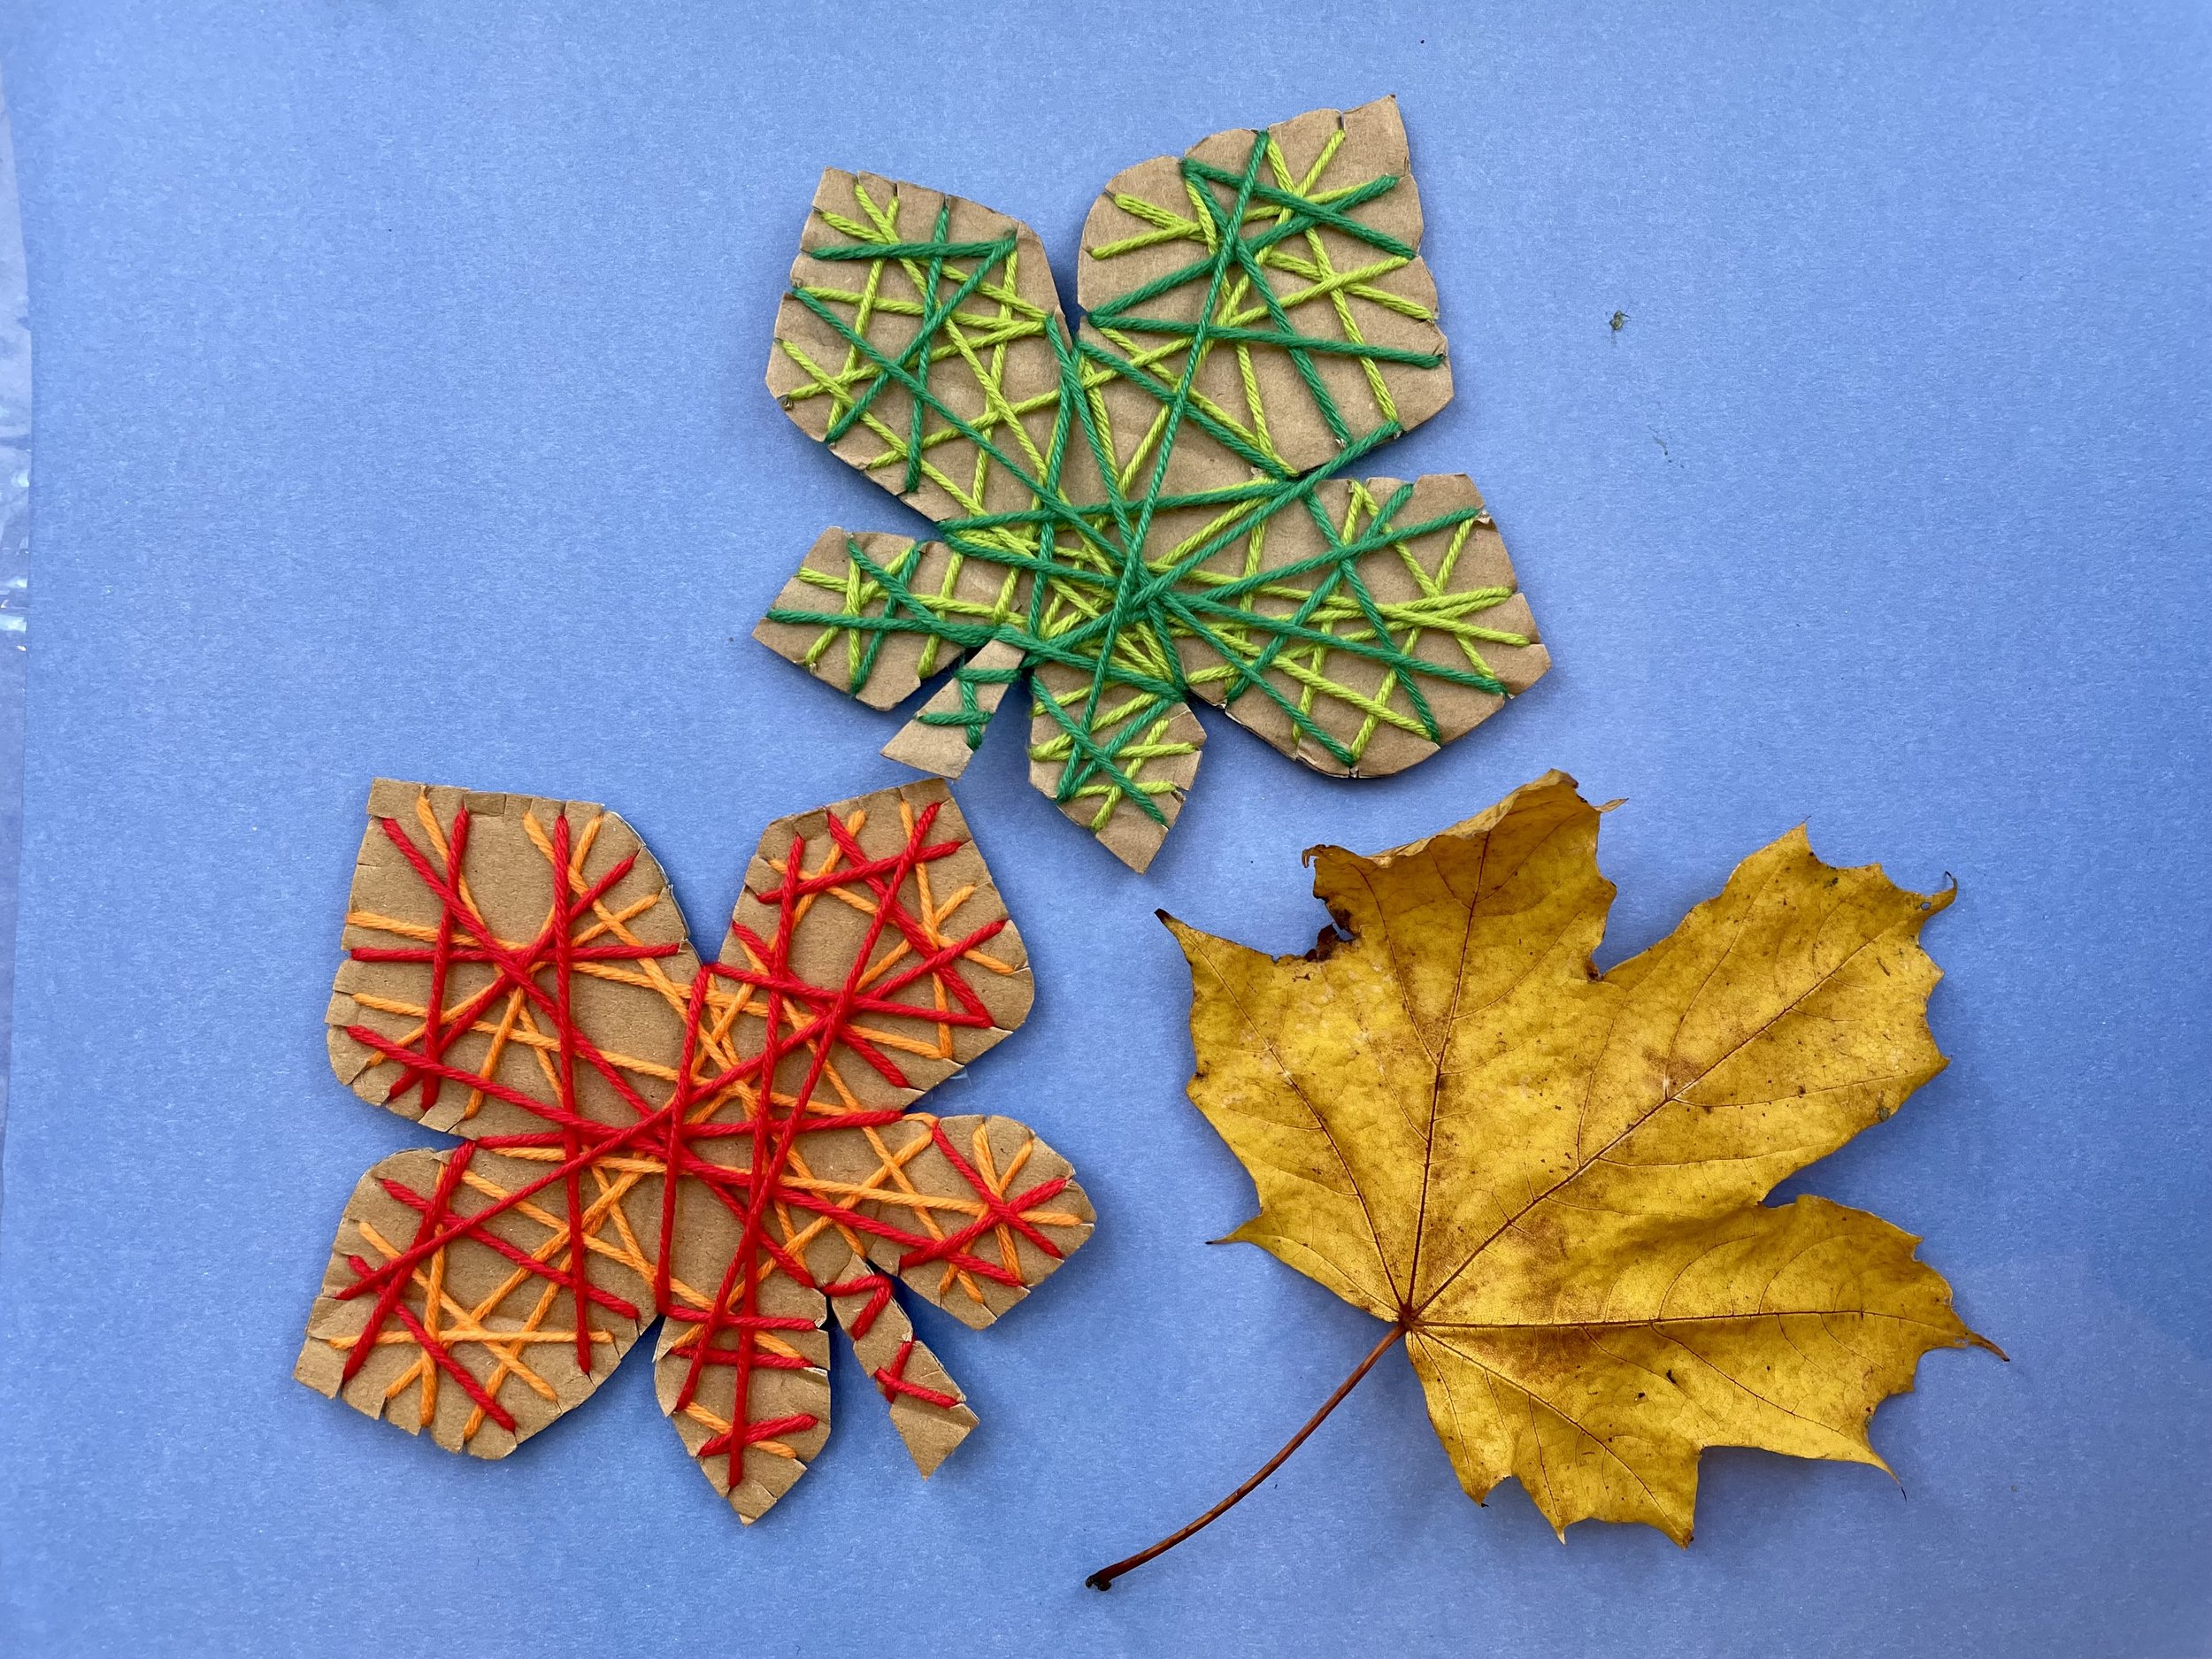
WOOL WRAP FRIENDS
You will need: thin card (we used old packaging), wool, cellotape, optional goggly eyes, stickers or pens.
You can be as simple or as complex as you like with the shapes you use: cut out a single piece shape such as a hedgehog, acorn or autumn leaf (why not draw round one you collected on your walk) or, if you are feeling more adventurous, try a multi-pieced shape such as the fox or cat.
I recommend cutting into the edge of your cardboard shape as this gives the wool a little more purchase and helps to hold it in place.
Tape a piece of wool to the back of your shape.
Your little one can have lots of fun wrapping wool around the shape to add colour. Encourage them to cover the whole shape rather than just going round and round. You can add multiple colours one on top of the other, or older children might like to add different colours to specific areas, such as a white tip for the fox’s tail and nose.
Depending on the age of your child, they can add googly eyes, sticker eyes or draw some on with a crayon or pen.


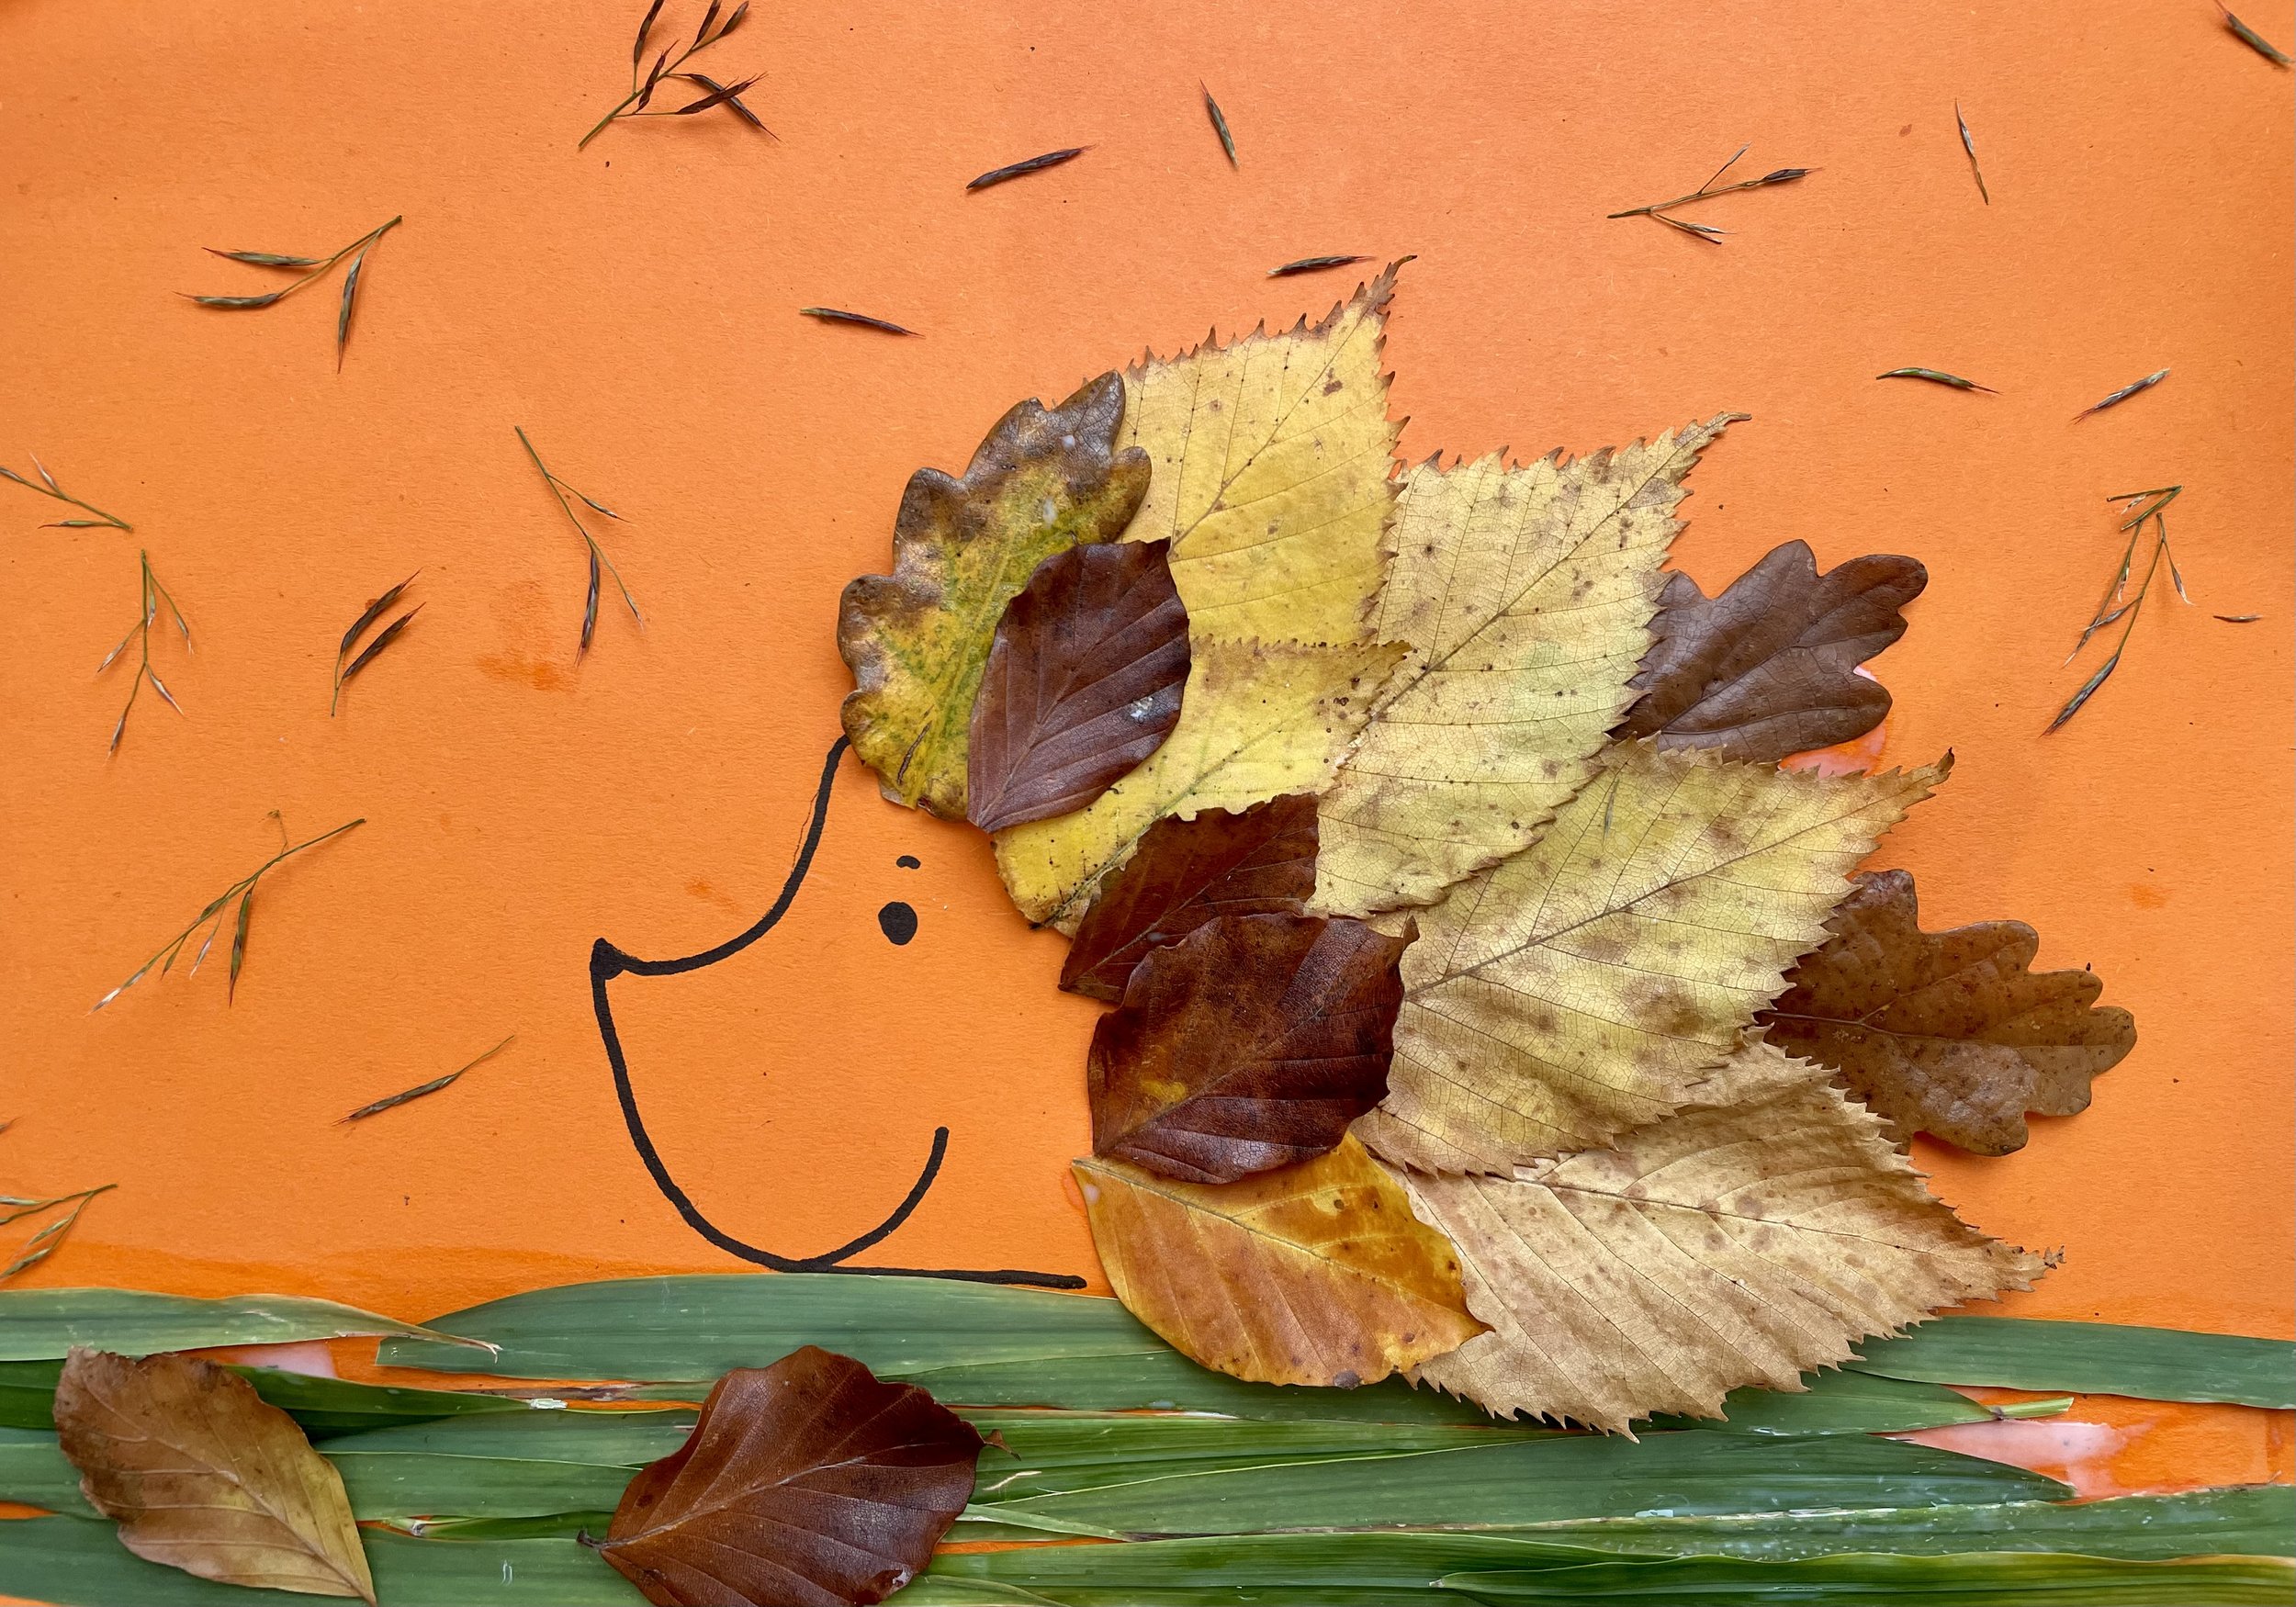
LEAF COLLAGE
An easy way to quickly create a fun picture with the treasures collected on your walk.
You will need: paper, pen, glue (we used PVA applied with a paint brush) selection of leaves.
Draw a simple autumn themed outline on your paper.
Glue an area of the paper and have fun layering different leaves!
CLAY LEAVES
If you are already thinking ahead to Christmas, these can make lovely presents for family members.
You will need: air drying clay, leaves (I recommend hydrangea for the beautiful veining effect), a knife, acrylic paint
Gather some leaves.
Roll out some air drying clay to about 1 cm thick.
Place a strongly-veined leaf onto the clay and using a rolling pin, press this into the clay.
Carefully peal off the leaf to reveal an imprint.

5. Cut around the outline of the leaf using a knife.
6. Depending on what you’d like to use your leaf for, you could either:
Make a small hole to thread ribbon through near the stalk, so that your leaf can be hung as a decoration or - if its small - as a present tag;
Gently fold up the edges to create a rim for a trinket plate;
Or place the clay inside a bowl so that the clay takes on this shape and can be used as a leaf bowl.


7. Allow the clay to harden. Placing them onto a cake drying rack, will speed up this process as the air can get to both top and bottom. This will take a few days.
8. Paint! (Acrylic paint works best for this as it gives a deep colour and a wipeable surface)… photos of ours to follow…
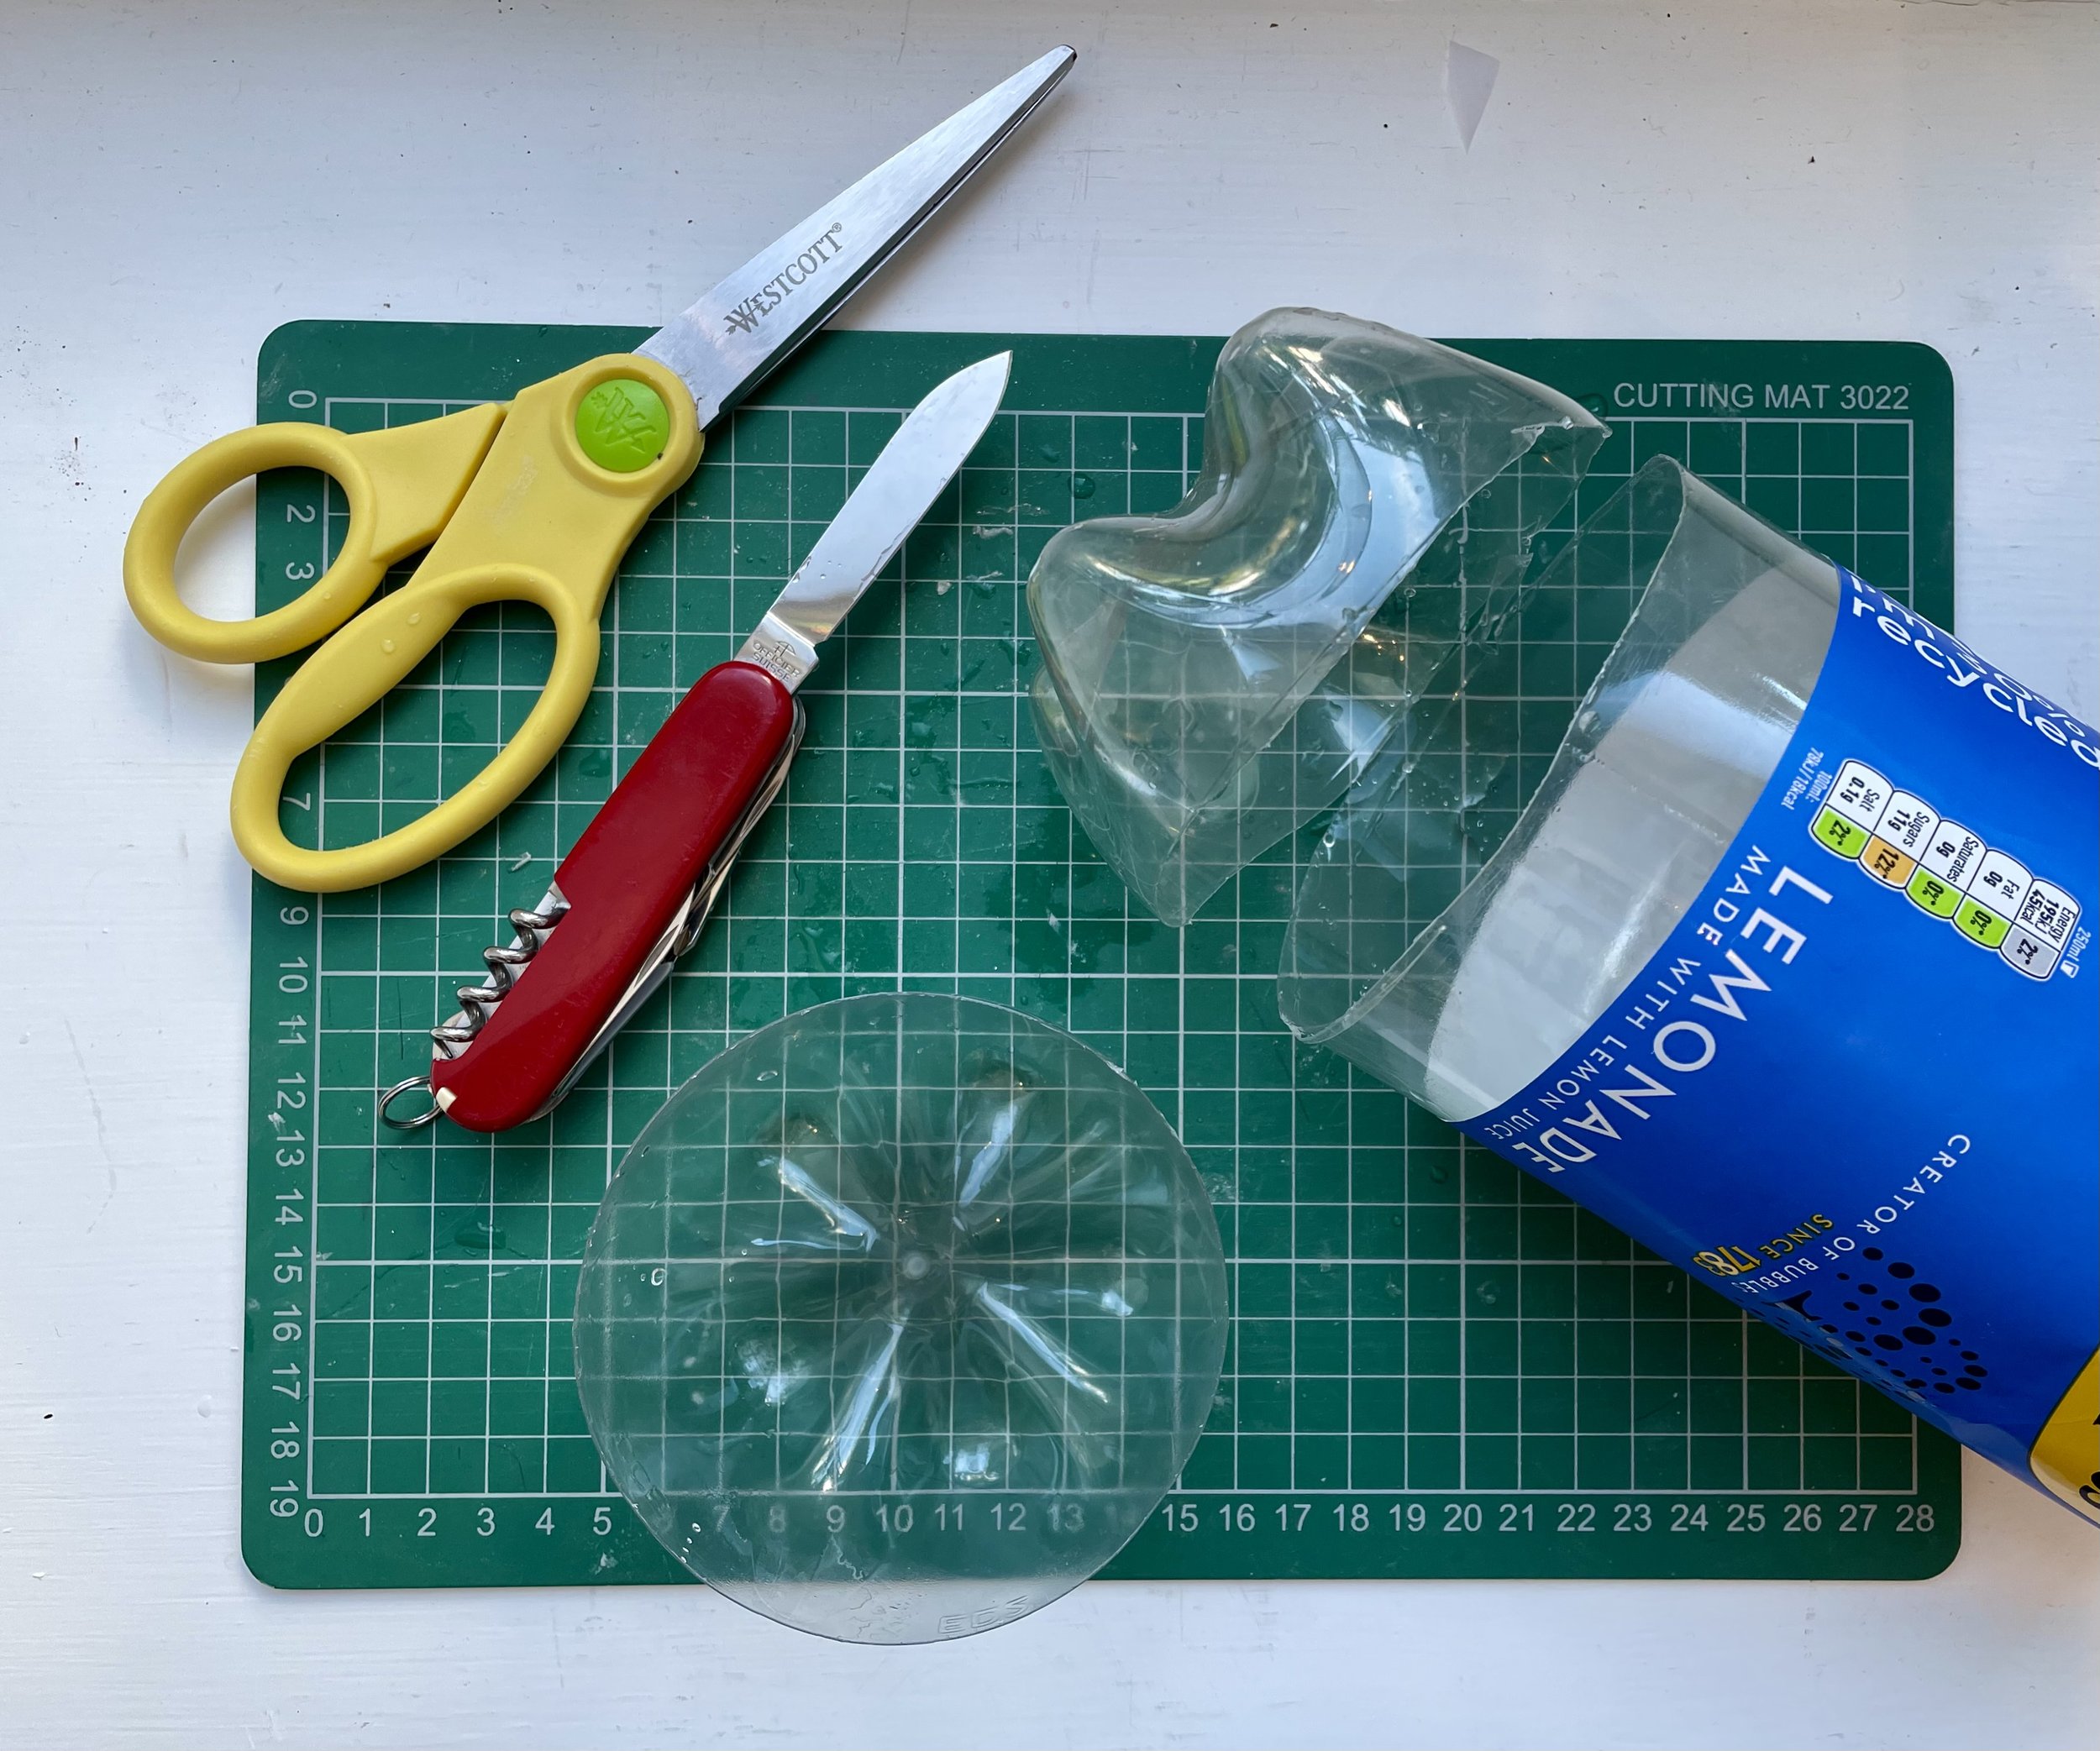
REMEMBRANCE DAY POPPIES
These poppies are an impactful way of creating beautiful, reusable decorations by repurposing old plastic bottles.
You will need: old plastic bottles (any size), a knife and scissors, red and black acrylic paint, cloth or newspaper to cover your working area, overalls/old clothes for children.
1. Carefully cut the bottom off a plastic drinks bottle. (There is often a moulding mark running around the bottle, part way up and it is helpful to follow this line.)
2. Shape the plastic into petals. How many petals is up to you - some of my bottles had 5 indentations on the bottom so I used these as a guide. You may prefer to cut just two, similar to the charity lapel poppies.

3. Paint your flower (ideally using acrylic paint to achieve a good depth of colour and coverage). You will probably need 3 coats of paint. These can be done about 3 hours apart or on different days. Don’t try to speed up the process by warming with a hair dryer as the plastic will melt… I learnt this the hard way!
NB: I strongly recommend putting down a table covering and that your child wears an art overall or old clothes as, once dry, acrylic paint does not come off wood or fabric. You will also need to clean your brushes as soon as the activity is finished so that these don’t go hard.

Completed poppies
Groombridge residents - please click here for more information about the Poppy Project being run by the Scouts and how you can add your poppies to the village display.
Do let me know how you get on with these crafts in the comments - I love hearing from you!
Lucy x